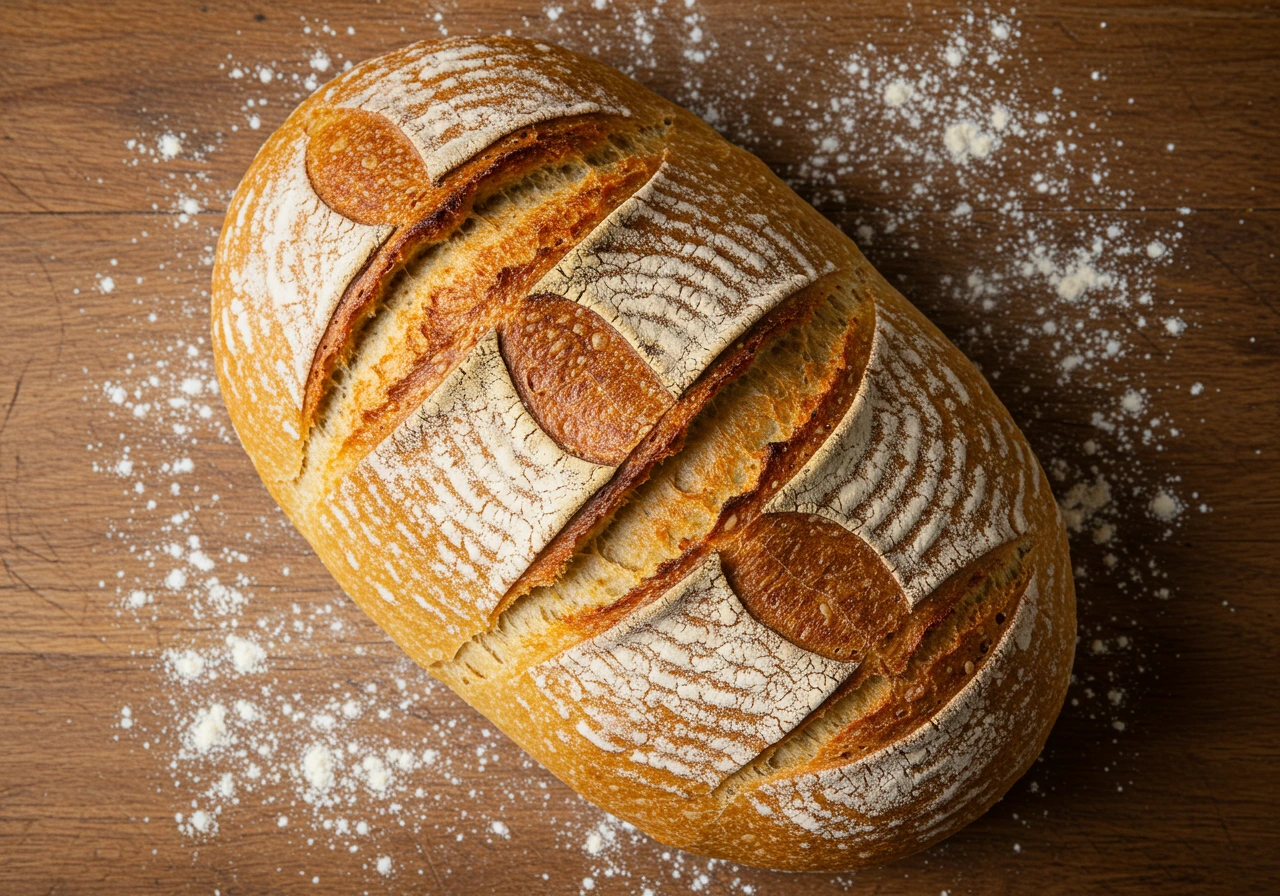
Discover the Magic of the Rising Recipe: Easy, Fluffy, and Unforgettable
You know, baking isn’t just about flour and heat—it’s a science, an art, and occasionally, a happy accident. rising recipe are a perfect example of this alchemy. Whether you’re whipping up quick biscuits for a cozy breakfast or tackling an old-school salt-rising bread that whispers tradition from every slice, there’s something oddly satisfying about watching dough come to life.
In this full-blown guide, you’ll find everything you need to become besties with rising dough. We’re going to walk you through the essential leavening agents, spotlight popular rising recipe favorites, and even share my experience baking salt-rising bread (spoiler: it was epic). Plus, you’ll get insider tips and modern twists that can make your kitchen smell like a professional bakery. Let’s get into Part 1!
Part 1: Rising Recipe Secrets Begin Here
Understanding Leavening Agents: The Backbone of Every Rising Recipe
Let’s be real—if your dough ain’t rising, it ain’t happening.
Leavening agents are the unsung heroes of baking. Without them, we’d be stuck eating flat pancakes and brick-like bread. These agents introduce gas bubbles into your dough or batter, which expand during baking, causing it to puff up, rise, and become irresistibly soft or delightfully crusty.
So, what exactly are these magic ingredients?
What Are Leavening Agents and Why Do They Matter?
To put it simply, leavening agents are substances that make your dough rise. They can be chemical, biological, or even physical. Each type brings a unique charm to the table—and trust me, knowing the difference can mean the difference between baking bliss and a kitchen catastrophe.
Let’s break them down.
Chemical Leaveners in Rising Recipes
Baking Soda and Baking Powder
These are staples in almost every baker’s pantry. Baking soda reacts with acidic ingredients (like yogurt or vinegar), releasing carbon dioxide that lifts your batter. Meanwhile, baking powder is the overachiever—it already contains an acid, making it a one-step wonder.
✔ Best for: Pancakes, muffins, cakes, and quick breads.
✏️ Pro Tip: Use the right amount—too much and your baked goods might taste soapy. Yikes.
Want more chemistry-meets-cupcakes? Check out this comprehensive guide to leavening agents for deeper insight.
Biological Leavening Agents: Let’s Talk Yeast and Bacteria
Ah, yeast—the tiny fungi with big flavor. When you mix it with sugar and warmth, it gets to work, burping out gas that inflates your dough like a balloon. This process is called fermentation, and it not only makes your bread rise but also blesses it with that nostalgic, bakery-style aroma.
But yeast isn’t the only player in town. Ever heard of salt-rising bread? It uses bacteria (yes, really) for leavening, and while it sounds like a science experiment, the result is surprisingly addictive.
✔ Best for: Classic bread, salt-rising loaves, artisan bakes.
Physical Leavening: The Power of Steam and Air
Now, this one’s old-school. No chemicals, no microbes—just air or steam. Think soufflés, popovers, and pâte à choux (yep, cream puffs). When water in the dough heats up, it turns to steam and puffs things up like magic.
✔ Best for: Cream puffs, Yorkshire puddings, and flaky pastries.
A Quick Comparison Table of Leavening Agents
| Leavening Agent | Type | Used In | Key Feature |
|---|---|---|---|
| Baking Soda | Chemical | Cookies, quick breads | Needs acid to activate |
| Baking Powder | Chemical | Pancakes, cakes | Contains its own acid |
| Yeast | Biological | Bread, rolls | Ferments sugars for rise |
| Bacteria (starter) | Biological | Salt-rising bread | Ferments in warm environment |
| Steam | Physical | Choux, popovers | Requires high moisture content |
| Air (whipping) | Physical | Angel food cake, soufflé | Requires vigorous mixing |
Common Mistakes When Using Leavening Agents
It happens to the best of us—you follow a recipe to the letter, and your loaf still flops. Here’s why that might be happening:
- 🧂 Expired ingredients: Baking soda and powder lose potency. Check those dates!
- 🥄 Improper mixing: Over-stirring can knock the air out.
- 🌡️ Wrong temperature: Yeast hates extremes. Keep it cozy, not boiling or freezing.
Part 2: Understanding Leavening Agents
What Are Leavening Agents and Their Role in Baking?
If there’s one thing every rising recipe depends on, it’s the leavening agent. But what exactly are these elusive ingredients?
Leavening agents are the behind-the-scenes heroes that cause dough or batter to rise by producing gas—typically carbon dioxide—that gets trapped in the mixture. This expansion of gas creates bubbles, resulting in light, airy, and fluffy textures in everything from biscuits to loaves of bread.
The magic doesn’t just stop at fluffiness, though. The type of leavening agent you use can affect the flavor, aroma, and even the crust of your baked goods. From the robust tang of a sourdough loaf to the sweet, soft rise of a cake, these agents control the very soul of your bake.
In essence, without leavening, we’d be chewing on dense bricks of flour and eggs—not very appetizing. Whether you’re working with yeast, baking powder, or simply whipping air into eggs, understanding these ingredients is your golden ticket to successful baking.
According to the experts at The Guardian, getting the rise right can be the difference between a baking fail and culinary glory. Meanwhile, King Arthur Baking provides an in-depth guide that every home baker should bookmark.
Types of Leavening Agents in Rising Recipes
Let’s dig a little deeper into the different types of leavening agents. Though they serve the same fundamental purpose—helping dough rise—their mechanisms and effects differ dramatically.
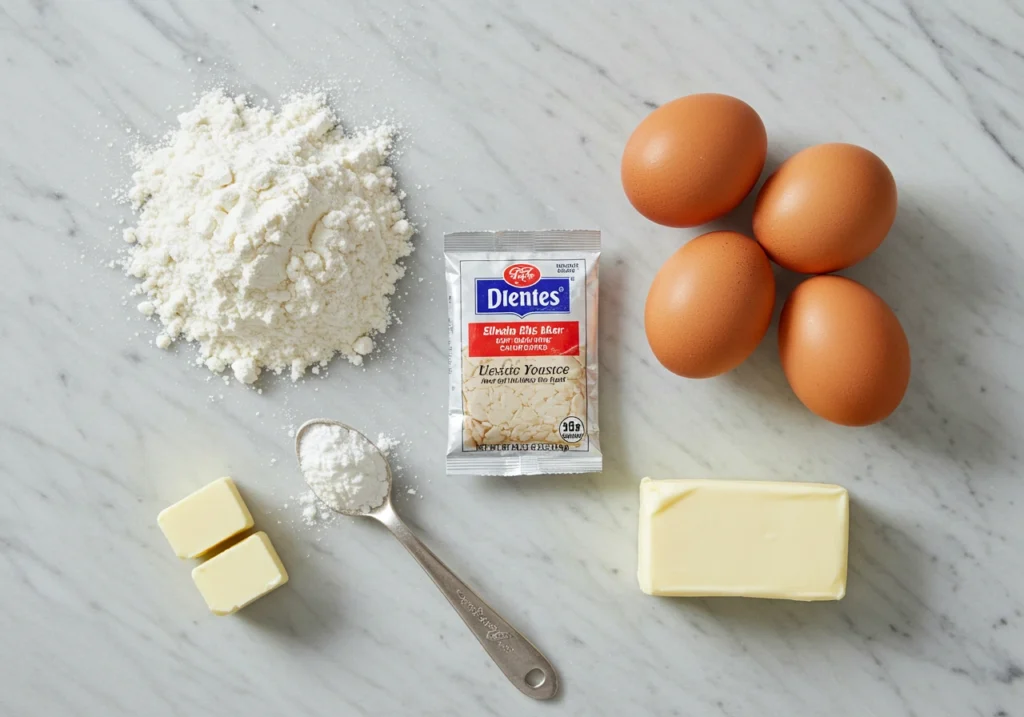
Chemical Leaveners: Fast and Fluffy
Chemical leaveners are the go-to choice for quick breads and cakes. They react immediately when mixed with liquids or exposed to heat, releasing carbon dioxide that lifts the dough without needing hours of rest.
Baking Soda
Baking soda (sodium bicarbonate) needs an acid—like vinegar, buttermilk, or lemon juice—to activate. Once it does, it creates bubbles in the batter that expand rapidly in the oven. But beware: if your recipe lacks enough acid, it might leave a metallic taste.
Baking Powder
This handy leavener is basically baking soda with added acid (like cream of tartar) and a starch to stabilize it. Most baking powders are double-acting, meaning they release gas once in the mix and again when heated. That means a more reliable and controlled rise—ideal for beginners and pros alike.
✔ Best for: Cakes, pancakes, muffins, scones.
Biological Leaveners: Traditional and Flavorful
Biological leavening relies on fermentation—the slow breakdown of sugars into carbon dioxide and alcohol (which cooks off during baking). The flavors are richer, deeper, and more complex.
Yeast
This is the most iconic biological leavener. Active dry or instant yeast consumes sugars in your dough, producing carbon dioxide gas that gives bread its volume and structure. Beyond rising, yeast adds a signature bread-shop aroma that’s hard to replicate.
Bacteria (Salt-Rising Bread)
Now, here’s where it gets a little wild. Salt-rising bread uses a specific type of bacteria—not yeast—to ferment the dough. It’s a temperamental method requiring a warm environment, but the result is a tight-crumbed, cheese-scented bread that’s a true heritage bake.
✔ Best for: Rustic loaves, sandwich bread, old-school recipes like salt-rising bread.
Physical Leaveners: No Additives Needed
Sometimes, all you need is air—and a little heat—to create a lift.
Steam
As water turns to steam, it expands rapidly, puffing up the dough. This method is crucial in foods like cream puffs and popovers, where moisture content does the heavy lifting.
Air Incorporation
This happens when you whip eggs, cream, or even batter. Think of the lightness of an angel food cake or a soufflé. Whipping introduces microscopic air bubbles that act like tiny balloons, lifting the batter as it bakes.
✔ Best for: Choux pastry, sponge cakes, meringues, soufflés.
Table: Types of Leavening Agents at a Glance
| Leavening Type | Agent | How It Works | Used In |
|---|---|---|---|
| Chemical | Baking Soda | Reacts with acid to release gas | Cookies, quick breads |
| Baking Powder | Reacts twice: with liquid and heat | Pancakes, muffins, cakes | |
| Biological | Yeast | Ferments sugars to release gas | Bread, pizza dough, brioche |
| Bacteria | Ferments naturally in warm environments | Salt-rising bread | |
| Physical | Steam | Expands in oven to puff up dough | Cream puffs, popovers |
| Whipped Air | Incorporates bubbles that expand when heated | Sponge cakes, meringue |
Part 3: Exploring Self-Rising Flour
What Is Self-Rising Flour and Why Bakers Love It
Ever stumble upon a rising recipe that calls for self-rising flour and wonder, what on earth is that? If so, you’re not alone. Self-rising flour is a nifty shortcut in the baking world—essentially, it’s a pre-mixed combo that takes the guesswork out of leavening.
So, what’s inside? All-purpose flour, a measured dose of baking powder, and a dash of salt. Together, they create a well-balanced base that rises like a charm in quick breads, muffins, and biscuits. Thanks to this blend, you can save time while still getting reliable results.
According to the experts at King Arthur Baking, this flour blend is especially helpful when you want a consistent rise without the hassle of mixing dry ingredients every time. Meanwhile, Allrecipes points out its role in iconic Southern baking, like fluffy buttermilk biscuits that practically melt in your mouth. And as noted by The Guardian, self-rising flour is an essential pantry staple in British households too—hello, scones!
✔ Best for: Pancakes, biscuits, dumplings, quick bread.
But remember: self-rising flour already contains leavening and salt, so using it in recipes that also call for baking powder or salt might throw off the balance. Adjust accordingly, or you could end up with overly salty or bitter results. No bueno.
How to Make Self-Rising Flour at Home
Let’s say you’re halfway through a rising recipe and—uh oh—there’s no self-rising flour in sight. No worries, friend. Making your own is shockingly simple and wildly satisfying.
Here’s your golden formula:
🧂 Homemade Self-Rising Flour Recipe:
- 1 cup all-purpose flour
- 1½ teaspoons baking powder
- ¼ teaspoon fine salt
That’s it! Just whisk the ingredients together until well-combined and use as a one-to-one substitute in any recipe that calls for self-rising flour.
This DIY version works like a charm in almost everything, from skillet cornbread to fluffy pancakes. And here’s the kicker—it gives you control. Want to reduce sodium? Swap fine salt for a pinch of kosher or skip it entirely. Need gluten-free? Just use your favorite 1:1 gluten-free all-purpose blend instead.
Part 4: Popular Rising Recipes
Classic Recipes Using Leavening Agents That Never Go Out of Style
There’s something downright magical about rising recipes that have stood the test of time. These aren’t just dishes—they’re passed-down rituals, family traditions, and cozy weekend memories baked into golden perfection. Whether it’s a flaky biscuit straight from the oven or a spongy pancake swimming in syrup, the charm of these classics lies in their rise—and their roots.
Let’s take a deeper bite into the three most beloved recipes that owe everything to their leavening agents.
Biscuits: The Flaky Gold Standard of Self-Rising Flour
There’s a reason Southern grandmas swear by their self-rising biscuit recipes—and once you bite into one, you’ll get it. These buttery, flaky clouds are a direct result of the power-packed blend in self-rising flour. No need to fuss with multiple ingredients. Just cut in cold butter, add buttermilk, mix gently, and bake.
Why They Work:
Self-rising flour already contains baking powder and salt, so the dough rises beautifully without over-handling, which keeps those layers tender. Pro tip? Don’t twist your biscuit cutter. It seals the edges and prevents a good rise—just press straight down and lift.
What You’ll Love:
- Quick prep
- Towering height
- Perfect vehicle for jam, honey, or gravy (hello, comfort food)
These are your go-to when you want something impressive but effortless. And let’s be honest—there’s nothing more satisfying than tearing into a biscuit and watching steam swirl out.
Pancakes: Fluffy Stacks of Morning Joy
Pancakes made with self-rising flour have one mission: fluff. They puff up like magic, giving you those Instagram-worthy stacks that are soft on the inside, golden on the outside, and perfect for soaking up maple syrup.
All you need is:
- 1 cup self-rising flour
- 1 egg
- ¾ cup milk
- 1 tbsp melted butter
- Optional: a splash of vanilla or dash of cinnamon
Why It Rises Right:
Thanks to the baking powder in the self-rising flour, there’s no need to measure separate leavening. The result? Airy interiors and a subtle crust that crisps up just right on a hot griddle.
Bonus Tip:
Let the batter rest for 5 minutes before cooking—this allows the baking powder to activate and build even more rising power.
Salt-Rising Bread: A Historical Perspective with Bold Flavor
Now let’s take a nostalgic turn down baking history lane. Salt-rising bread is a lesser-known gem with roots in Appalachian America. Born out of necessity when yeast was hard to come by, this bread uses bacteria to rise—yes, really. The process starts with a starter culture made from cornmeal, salt, and warm water, which ferments in a warm spot until it’s ready to leaven your dough.
Don’t let the name fool you: it doesn’t taste salty. In fact, it boasts a cheesy aroma and a dense, rich texture unlike any other bread. It’s not a quick process—this one requires patience and gentle attention—but the result is worth every moment.
Why It’s Still Loved:
- Deep-rooted tradition
- Distinct flavor profile
- No commercial yeast needed
And trust me, once you’ve tried it, you’ll understand why some bakers passionately preserve this recipe like a family heirloom.
Part 5: Deep Dive into Salt-Rising Bread
History of Salt-Rising Bread: A Heritage Born from Necessity
Long before commercial yeast lined grocery shelves, ingenious bakers in the Appalachian Mountains developed a method that felt like culinary alchemy: salt-rising bread. Its origins date back to the late 1700s and early 1800s in the United States, particularly among pioneer communities who didn’t have access to yeast or sourdough starters. Desperate times, meet brilliant improvisation.
Despite its misleading name, salt doesn’t actually make the bread rise. Instead, salt was used to create a warm, bacteria-friendly environment for the starter—typically made from cornmeal, milk, or potatoes. This starter is left to ferment in a cozy spot until it’s bubbly, active, and ready to leaven the dough. The flavor? Unforgettable. The aroma? Surprisingly cheesy. The texture? Densely tight and moist with a pale, golden crust.
As explained by Wikipedia, the bread holds cultural weight, especially in regions like Kentucky, West Virginia, and parts of Pennsylvania. Sites like Allrecipes and Simply Recipes showcase its preservation by artisan bakers and historians alike, eager to keep this quirky slice of Americana alive.
The Science Behind Salt-Rising Bread: Fermentation’s Funky Cousin
Unlike traditional yeast-based loaves, salt-rising bread ferments thanks to a unique mix of heat-loving bacteria—most notably Clostridium perfringens, a microorganism naturally present in the environment (and harmless when baked).
Here’s what makes this process so fascinating:
- Instead of relying on yeast to convert sugars into carbon dioxide, salt-rising bread’s starter cultivates bacteria that emit hydrogen gas during fermentation.
- This gas gets trapped in the dough, causing it to rise—albeit slower and less dramatically than yeast-based bread.
- The result is a tight, fine crumb with no noticeable holes or air pockets, unlike sourdough.
To succeed, you must keep your starter at a warm and stable temperature—between 100°F and 110°F. Too hot, and the bacteria die. Too cold, and they don’t activate. You’ll also need patience, as the fermentation can take up to 12–18 hours just to get the starter ready.
Many compare the resulting loaf to an aged cheese—not because cheese is involved, but due to the aromatic compounds released during fermentation. It’s this funky fragrance and flavor that turns first-timers into devoted fans (or leaves them bewildered).
Bottom line? Salt-rising bread is less about rise and more about flavor. And yes, it’s absolutely safe—baking eliminates any harmful bacteria, as confirmed by multiple sources including Wikipedia.
Traditional Salt-Rising Bread Recipe: Old-World Method, Modern Instructions
Ready to try it yourself? Here’s a faithful adaptation of the traditional recipe, based on trusted sources and my own hands-on experience. Don’t rush this one—it rewards patience and precision.
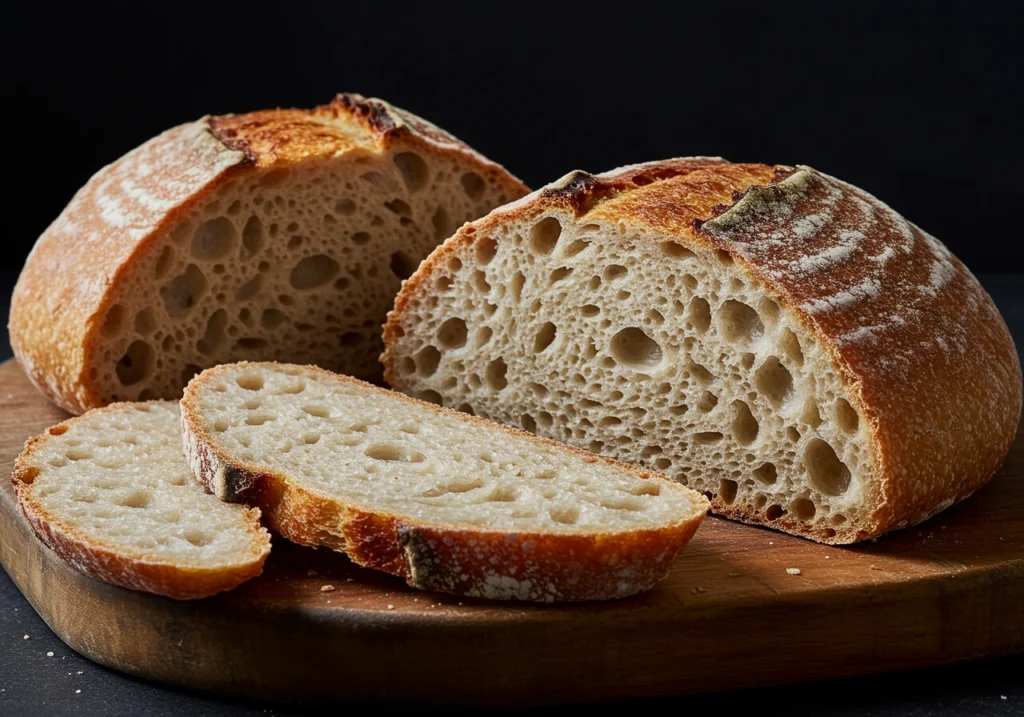
🧂 Ingredients:
starter (Day 1):
- 3 tbsp cornmeal (preferably stone-ground)
- 2 tbsp all-purpose flour
- 1 tsp sugar
- ¾ cup warm water (100–110°F)
sponge (Day 2):
- Starter from Day 1
- 1 cup warm milk
- ¾ cup flour
dough (Day 2, after sponge rises):
- Sponge mixture
- 2–2½ cups all-purpose flour
- 1 tsp salt
- 1 tbsp melted butter (optional)
🧁 Instructions:
- Make the starter (Day 1 evening):
Mix cornmeal, flour, sugar, and warm water in a glass jar. Cover loosely and place in a warm spot (100–110°F). Let it sit overnight (12 hours). You’ll know it’s ready when it smells funky—like cheese or feet (trust the process). - Create the sponge (Day 2 morning):
Add warm milk and ¾ cup flour to the starter. Mix gently and cover. Let it ferment in a warm place for 4–6 hours until foamy and bubbly. - Make the dough:
Stir in melted butter and salt (optional), then gradually add flour until a soft dough forms. Knead briefly—just until smooth. - First rise:
Shape dough into a loaf and place in a greased loaf pan. Cover and let it rise again in a warm area for 2–4 hours. It won’t double, but you’ll notice a gentle swell. - Bake:
Preheat oven to 375°F (190°C). Bake for 35–40 minutes or until golden and firm. Cool on a rack before slicing.
Personal Experience with Salt-Rising Bread: My Cheesy-Legend Moment
Okay, let me keep it real—this wasn’t your average Sunday bake.
The first night, I mixed the starter with curiosity and a dash of doubt. It smelled… odd by morning, like a sock lost in a cheese factory. I nearly chickened out, but soldiered on. After mixing the sponge and letting it do its bubbly thing, I could tell it was alive—and thriving.
When the loaf came out of the oven, the aroma filled my kitchen with the unmistakable scent of tradition. I sliced in, half-expecting disappointment, but wow. The crumb was creamy and close-knit, and the flavor? Mildly tangy, savory, with a whisper of nuttiness.
I shared a few slices with friends who’d never heard of it. Half were obsessed. The others were… confused. Either way, it sparked conversation and smiles—which is exactly what food should do.
This is not a bake for the faint-hearted. It’s quirky. It’s old-school. But it’s one of the most rewarding rising recipes I’ve ever tried.
Part 6: Modern Takes on Rising Recipes
Two-Ingredient Recipes Gaining Popularity (and Totally Worth the Hype)
In the age of TikTok trends and viral recipe reels, rising recipes have taken a thrilling minimalist turn. Who would’ve thought that just two humble ingredients could create something so fluffy, satisfying, and dare I say—addictively good? Simplicity is the new sophistication, and today’s modern home bakers are leaning into quick, no-fuss creations that still deliver on rise, texture, and taste.
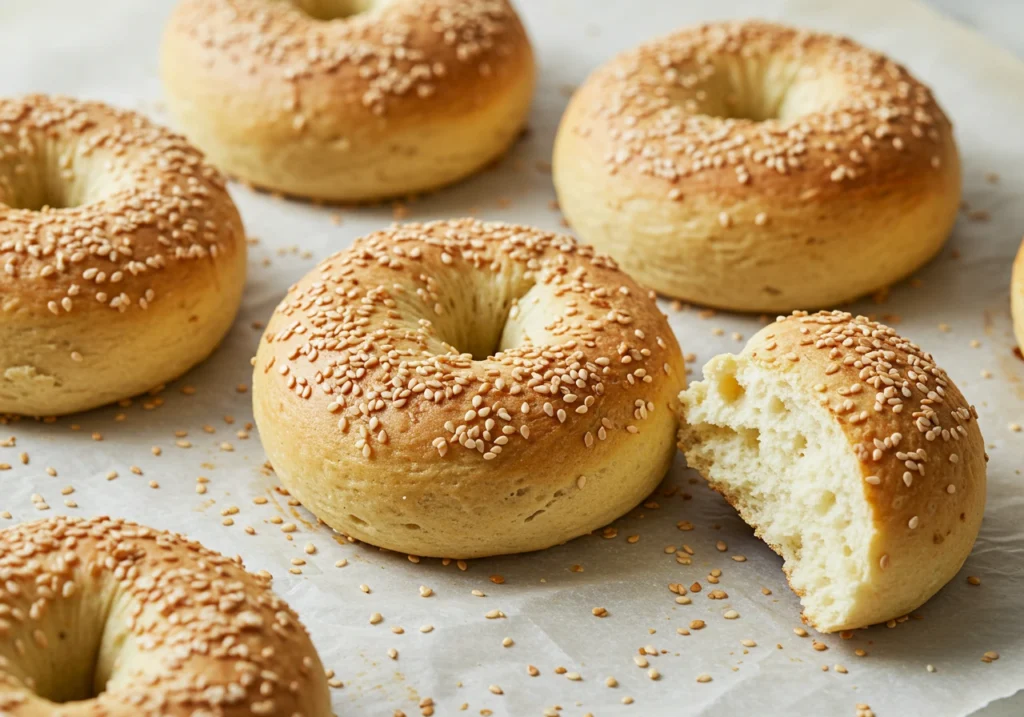
So, if you’re short on time, low on pantry items, or just love a clever kitchen hack, these rising recipes will be right up your alley.
Two-Ingredient Bagels: A Self-Rising Flour Sensation
If you haven’t tried this yet, you’re seriously missing out. All you need is:
- 1 cup self-rising flour
- 1 cup plain Greek yogurt
Mix them into a shaggy dough, knead lightly, divide and shape into rings. Brush with egg wash, sprinkle with your favorite toppings (everything bagel seasoning, anyone?), and bake at 375°F (190°C) for 20–25 minutes.
Why It Works:
The baking powder in self-rising flour reacts with the acidity and protein in the yogurt, creating a soft, chewy bagel without needing yeast or hours of proofing.
Why You’ll Love It:
- No rising time
- No boiling required
- Perfect for meal prep or a quick snack
And hey—add raisins, cinnamon, or shredded cheese to customize them however you like. Breakfast just got a major glow-up.
Ice Cream Pancakes: Dessert Meets Brunch in the Most Unexpected Way
Wait, pancakes made from ice cream? Oh yes. And it’s a game-changer.
All you need is:
- 1 cup melted ice cream (any flavor!)
- ¾ cup self-rising flour
Mix the two into a batter, let it sit for a few minutes, then cook on a greased skillet until golden and puffy.
What’s Happening Here?
The melted ice cream brings sugar, fat, and liquid while self-rising flour does its rising magic. The result? Soft, sweet pancakes with surprisingly rich flavor—vanilla, chocolate chip, cookies & cream… go wild!
Best Part:
- No eggs or milk needed
- Kid-approved and party-worthy
- Great way to use up melting ice cream
This unexpected duo proves that rising recipes don’t have to be complex to be delicious. With self-rising flour as your trusty base, the possibilities are endless—and wildly fun.
Part 8: Frequently Asked Questions
FAQs on Rising Recipes
Let’s face it—baking can feel like a mystery sometimes. Even when you follow a recipe and double-check every step, your loaf might still come out looking like a sunken ship. Or perhaps you’re staring at your bag of self-rising flour, wondering if it’s magical or just marketing. Either way, don’t worry—you’re not alone! To help clear things up, these frequently asked questions break down the rising recipe basics with simple, no-fluff answers you can actually use.
What makes a recipe rise?
Great question! A recipe rises when a leavening agent introduces gas (usually carbon dioxide or steam) into the batter or dough, causing it to expand. The most common leavening agents include:
- Chemical: Baking powder, baking soda
- Biological: Yeast or bacteria (as in salt-rising bread)
- Physical: Air or steam, often from whipped eggs or water evaporation
The key is gas expansion + heat = rise. The structure of your baked good sets as it bakes, trapping the air pockets inside. So, timing and proper mixing matter a lot.
Can you make your own self-rising flour?
Absolutely—and it’s easier than you might think. If you ever run out, just combine:
- 1 cup all-purpose flour
- 1½ teaspoons baking powder
- ¼ teaspoon salt
Whisk them together, and voilà—you’ve got a homemade self-rising flour substitute that works like a charm in any rising recipe calling for the store-bought version.
What is the difference between rising flour and regular flour?
The main difference is what’s already mixed in.
- Self-rising flour includes baking powder and salt.
- All-purpose flour is just plain flour without any additives.
Using them interchangeably without adjusting the recipe will affect the outcome—either by making it too salty or failing to rise at all. Always check your recipe to see which one is required!
Part 9: Conclusion
Embracing the Art of Rising Recipes
Baking is more than a kitchen task—it’s an experience, a science, and sometimes, a delicious accident. Whether you’re whisking together a modern two-ingredient bagel or nurturing a traditional salt-rising recipe bread starter, every rising recipe is a little journey into the heart of homemade magic.
What’s truly fascinating is how just a pinch of baking powder or a spoonful of yeast can bring a bowl of flour to life. In fact, the dance between temperature, time, and technique isn’t just chemistry—it’s also creativity. Moreover, that’s the beauty of it: you don’t have to be a professional baker to master the rise. With just a bit of practice, anyone can unlock the magic of baking.
So go ahead—experiment! Play with steam, air, bacteria, or yogurt. Try new flours. Fail and try again. Because behind every golden loaf or fluffy pancake is a baker who wasn’t afraid to stir things up.
Your next great rise is just a mix away.

