ntroduction
Looking for a dessert that’s as light as air and melts on your tongue like a dream? Well, you’re in for a treat. This cloud cake recipe isn’t just another sweet—it’s a fluffy, pillowy-soft, melt-in-your-mouth experience that’s sure to steal the show at any gathering. Whether you’ve got a craving for something light or want to impress your guests without breaking a sweat in the kitchen, this cake has got you covered.
Inspired by Japanese souffle cakes and cotton cheesecakes, this recipe delivers on texture, taste, and presentation. Plus, it’s totally customizable, surprisingly simple, and only needs a few everyday ingredients.
So, let’s jump right into the first part and uncover what this ethereal dessert is all about.
Part 1: Introduction to the Fluffy Cloud Cake Recipe
What is a Cloud Cake and Why is It Trending?
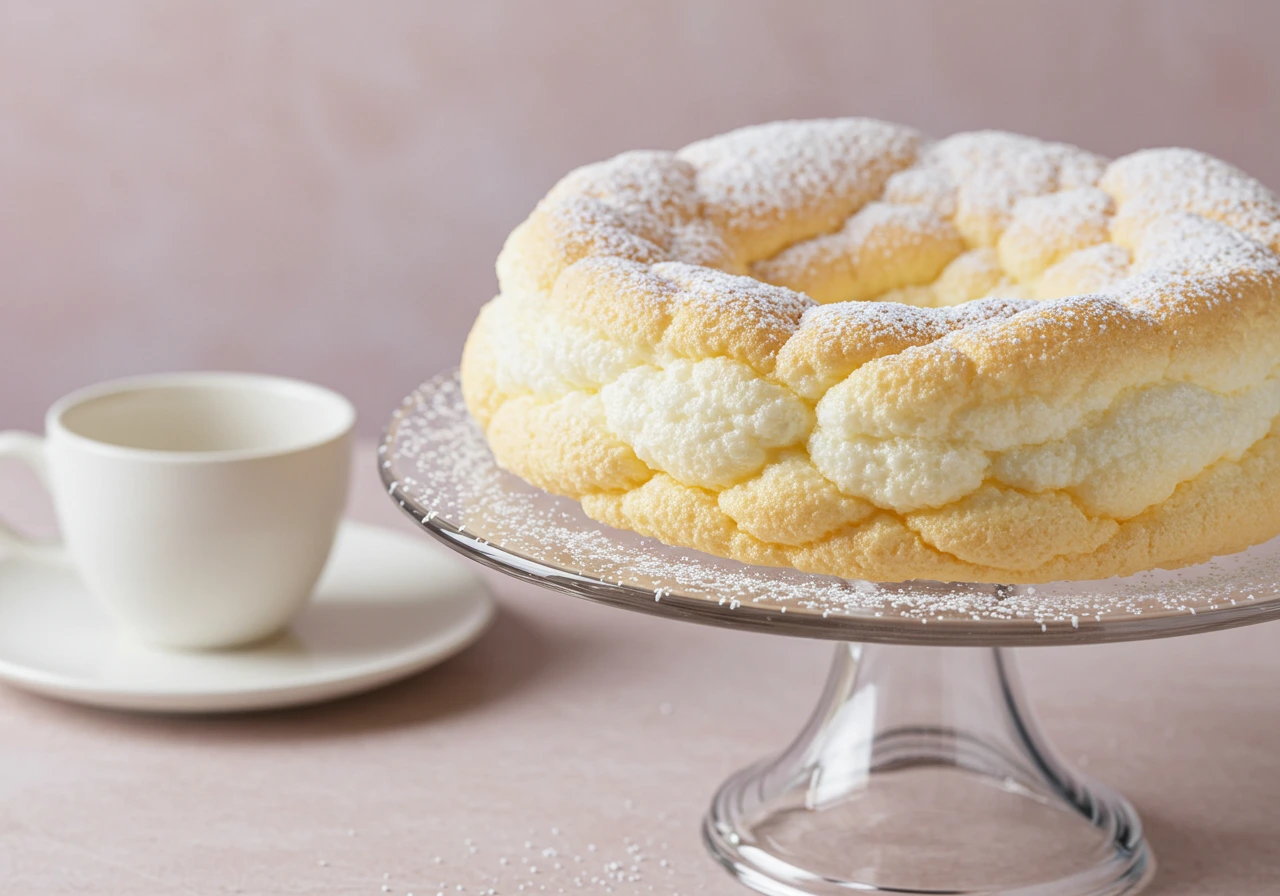
Ah, the cloud cake. Just hearing the name sounds like a dessert from a fairytale, right? But it’s real—and yes, it’s as dreamy as it sounds. This cake is known for its super airy, soft-as-a-cloud texture that practically dissolves in your mouth. Often mistaken for a Japanese cheesecake or souffle cake, it takes the concept of a light sponge to a whole new level.
So, what makes it special? For starters, it doesn’t rely on heavy butter or oil. Instead, it gets its cloud-like softness from whipped egg whites and gentle folding techniques. The result? A bounce-back sponge that jiggles slightly and feels oh-so-light when sliced.
It’s been making waves on social media, especially on food blogs and TikTok, because it looks amazing, requires minimal decorating, and tastes like a mix between a chiffon cake and a marshmallow—without being overly sweet.
The Surprising Rise of the Cloud Cake Craze
Over the past year, cloud cakes have taken over both bakeries and home kitchens. Everyone from baking beginners to experienced pastry chefs has tried their hand at it. But why now?
First, more people are shifting to desserts that feel “lighter” and less sugary. Second, with its beautiful, puffy appearance, it’s super photogenic—making it ideal for Instagram reels and Pinterest boards. Lastly, the process of making it feels oddly satisfying, especially the part where you beat the egg whites to stiff peaks and watch the cake rise like a souffle in the oven.
Why I Tried This Soft Baked Dessert (And Loved It)
So, full disclosure: I wasn’t sure I’d get it right on the first try. But trust me—it’s way easier than it looks. Once you get the hang of the whipping and folding, the rest is cake (literally). The texture was beyond my expectations—fluffy, tender, and not too sweet. Perfect with a cup of tea or as a light after-dinner treat.
And because it uses simple ingredients, I didn’t have to run to a specialty store. I had everything I needed already sitting in my pantry. Plus, it’s easily adjustable—wanna make it dairy-free or citrusy? No problem, and we’ll get into that in later parts.
So now that you know what makes this airy cake so buzzworthy, let’s break down what you’ll need to make it happen at home.
Part 2: Ingredients and Equipment for the Perfect Cloud Cake
When it comes to making the perfectly soft baked dessert, simplicity is key. Cloud cake doesn’t rely on fancy ingredients or tools—just a handful of kitchen staples and a few smart techniques. Below, we’re breaking down the essential ingredients and recommended baking equipment to help you create this dreamy dessert from scratch.
Essential Ingredients for Cloud Cake
You don’t need a full pantry to whip up a great cloud cake. But what you do need must be used just right. Let’s explore the role each core ingredient plays.
Core Ingredients
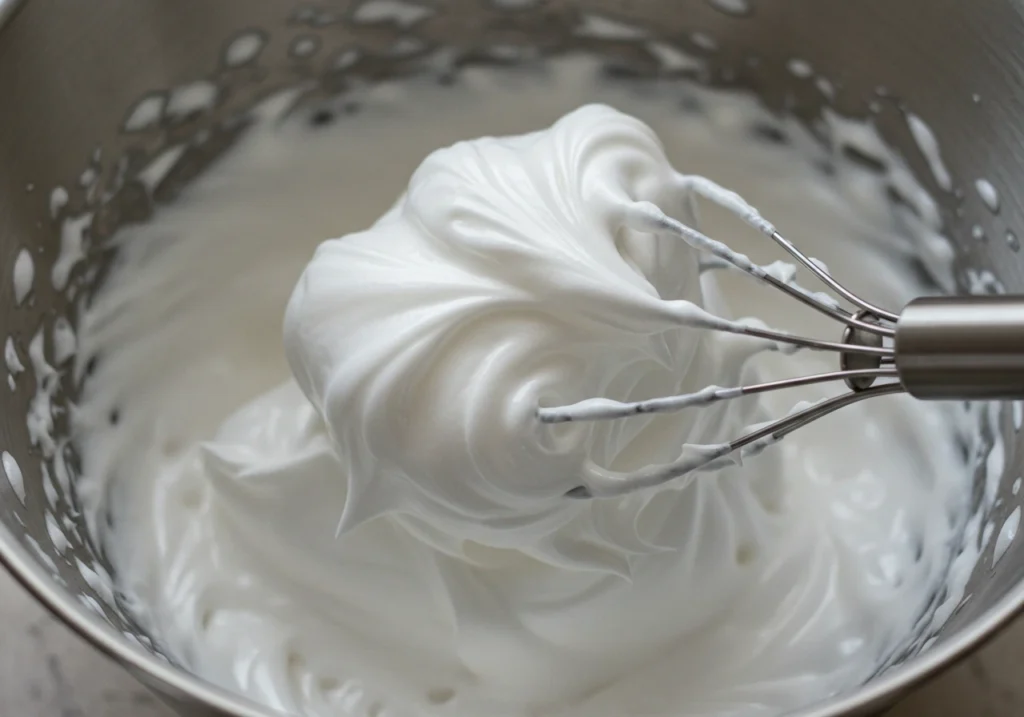
- Eggs (Room Temp): These are the backbone of your cake. The yolks provide richness while the whipped whites build volume and structure. It’s the airy meringue that gives the cloud cake its signature bounce.
- Sweeteners: You’ve got options here! While granulated sugar is classic, you can experiment with condensed milk or even honey for a richer, slightly caramelized flavor. Just keep the sweetness balanced.
- Dairy Base: Cream cheese is a popular go-to, but you can totally switch it up with Greek yogurt or even mascarpone. Each offers a different texture—Greek yogurt adds tang, while mascarpone makes it richer and smoother.
Flavor Enhancers
- Citrus Zest: Adding a bit of lemon or orange zest brightens the flavor and cuts through the richness. It’s a little zing that goes a long way.
- Vanilla Extract: A must-have. This is what gives your cake that warm, familiar flavor that makes people say, “What’s in this? It’s amazing!”
Want to get creative? Go for a dash of almond extract or a pinch of cinnamon, but keep it subtle. Let the cake’s airy texture shine.
For inspiration and ingredient ratios, you can explore similar recipes from King Arthur Baking and Use Real Butter.
Recommended Equipment for the Fluffiest Results
Believe it or not, the tools you use matter just as much as your ingredients. Using the right baking gear can mean the difference between a cloud and a flop.
Baking Tools
- Springform Pan: This isn’t optional. A springform pan lets you release the delicate cake without flipping it over. You don’t want to destroy that puffy perfection.
- Electric Mixer + Mixing Bowls: Trust me, you don’t want to beat egg whites by hand unless you’re aiming for a morning workout. A good mixer helps achieve those glossy stiff peaks faster and more evenly.
Additional Essentials
- Parchment Paper: Line the bottom and sides of your pan. It ensures your cake lifts cleanly and helps avoid cracks and sticking. Nobody likes cake casualties.
- Water Bath Setup (a.k.a. Bain-marie): A gentle water bath creates a moist environment in the oven, preventing your cake from drying out or developing a tough crust. This technique also promotes that coveted jiggle.
Bonus tip: Wrap the outside of your springform pan with foil to keep water from seeping in
Part 3: Step-by-Step Cloud Cake Recipe (The Foolproof Way!)
You’ve gathered your ingredients, lined your pans, and prepped your mixer. Now it’s time for the most exciting part—bringing this airy cake recipe to life! Below, you’ll find a detailed guide to help you make the perfect fluffy cloud cake, even if you’re not a baking expert.
Preparing the Batter for That Signature Airiness
Cloud cake batter isn’t your average cake mix. It requires some finesse, a gentle hand, and a whole lotta egg-whipping magic. But don’t worry—we’ve broken it down into manageable steps so it’s easy to follow and hard to mess up.
Separating and Beating the Eggs Like a Pro
Start with room-temperature eggs—they separate more cleanly and whip better. Carefully crack each egg and use the shell-to-shell method (or an egg separator) to split the yolks from the whites. Make sure not a single drop of yolk ends up in the whites, or you won’t get those dreamy peaks.
Now, whip those whites until they form stiff, glossy peaks. This means they stand upright when you lift the beaters. A pinch of cream of tartar or a splash of lemon juice can help stabilize the foam.
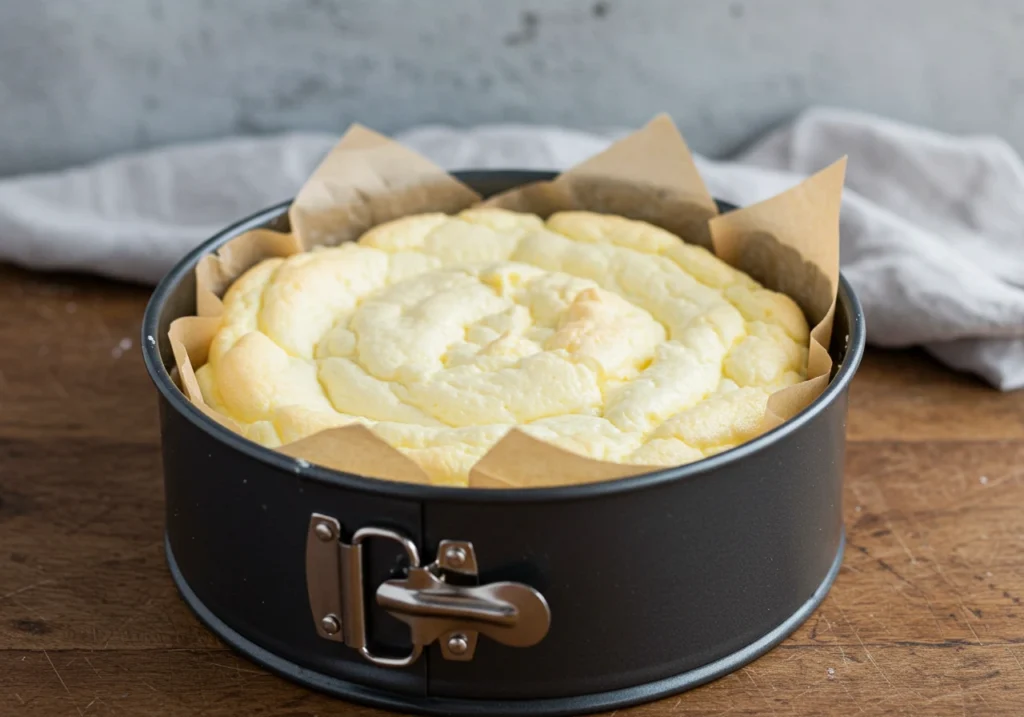
Quick Tips to Avoid Egg White Fails:
- Make sure your bowl is bone-dry and clean—no grease allowed.
- Start slow, then crank up the speed.
- Don’t over-whip! Dry, crumbly whites won’t fold well and will flatten your cake.
Combining Ingredients Without Deflating the Dream
In a separate bowl, mix your egg yolks with your chosen sweetener and dairy base. Add in vanilla extract and citrus zest for that signature flavor punch.
Now comes the most delicate step: folding the whipped egg whites into the yolk mixture. Do it in batches using a spatula, not a whisk. Think of it as hugging air into batter—you’re blending, not stirring.
This technique is what gives your cake that famous “cloud” texture. Rush it, and you’ll end up with more pancake than puff.
Baking the Cloud Cake to Perfection
You’re now ready to bake your cloud into existence. Let’s get that oven humming!
Preparing the Oven and Setting Up a Gentle Water Bath
Preheat your oven to 325°F (165°C). While it heats, prepare your water bath. Simply place your filled springform pan inside a larger baking tray and pour hot water into the tray—about halfway up the side of your cake pan.
Why do this? A water bath creates a steamy, moist environment that keeps the cake from cracking or drying out. It’s the secret to that soft, silky texture that practically floats off your fork.
Before pouring the batter, make sure you’ve lined your pan with parchment. Give the batter a quick swirl at the top to smooth it out.
The Baking Process: Patience Pays Off
Place your pan in the oven and resist the urge to open the door. Bake for about 50–60 minutes. The cake should rise slowly, jiggle slightly when tapped, and have a pale golden top.
Signs it’s done:
- A toothpick comes out mostly clean, with a few moist crumbs.
- The cake has pulled slightly away from the edges.
- It jiggles like jelly but holds its shape.
Let it sit in the turned-off oven with the door slightly ajar for 10–15 minutes. This helps avoid sudden deflation from temperature shock.
Cooling and Serving the Cloud Cake
We’re in the home stretch now—just one more step before you dig in!
Cooling Techniques That Protect the Texture
After removing the cake from the oven, don’t be in a rush. Let it cool in the pan at room temperature for at least an hour. Once it’s cool to the touch, move it (still in the pan) to the fridge for 3–4 hours—or overnight if you can wait.
This chilling step sets the texture and makes slicing easier. Trust me, it’s worth the wait.
How to Serve Your Soft-Baked Masterpiece
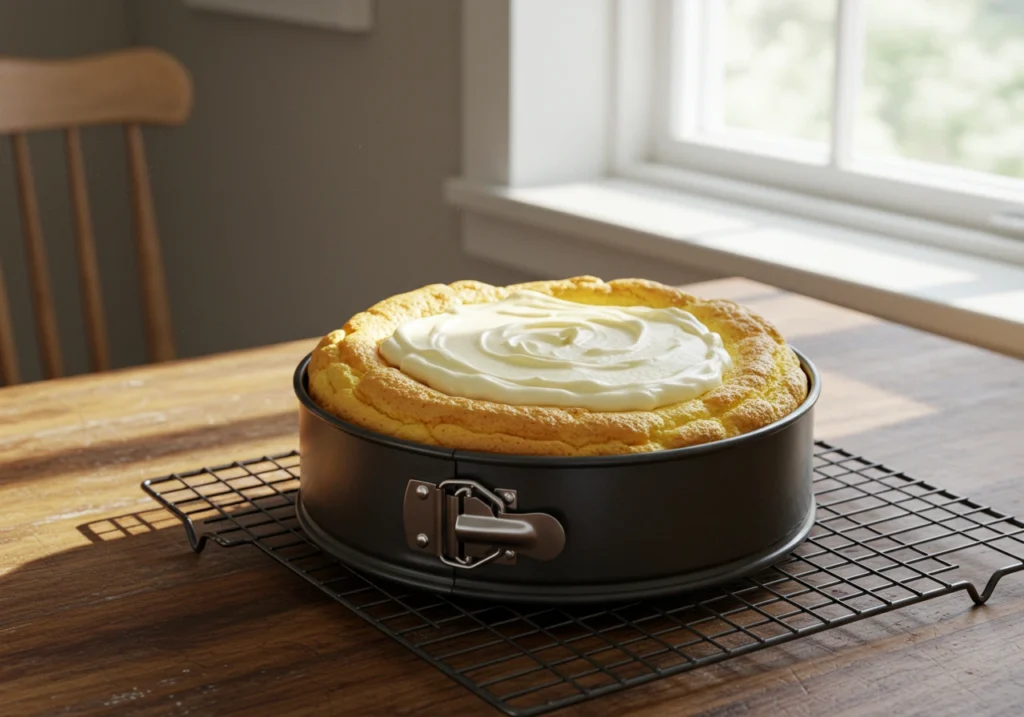
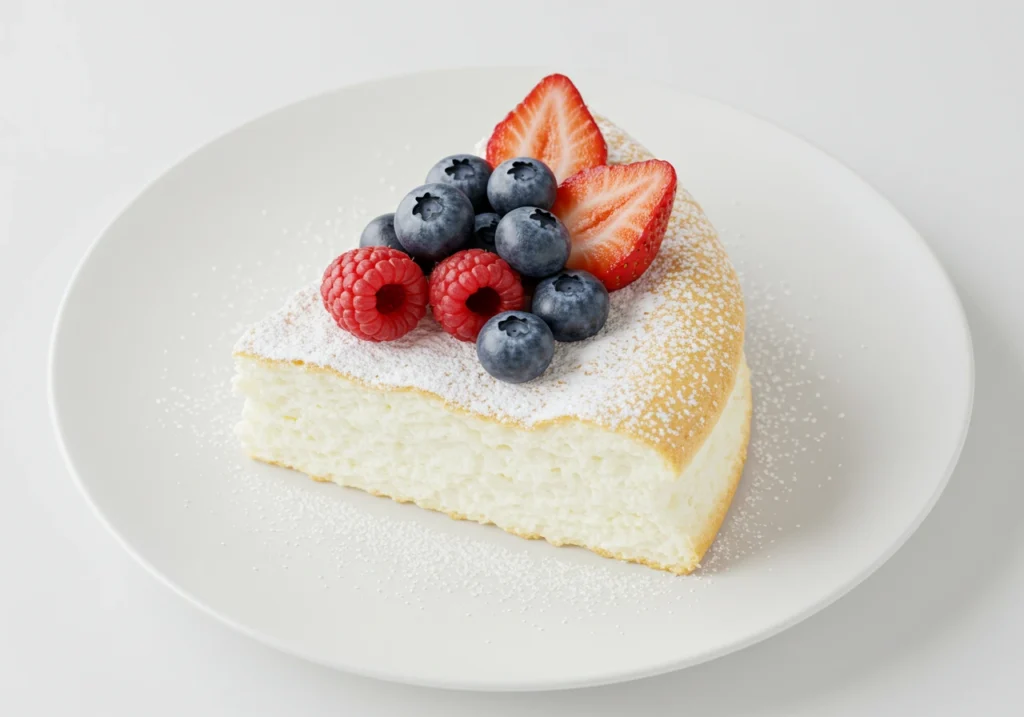
Once chilled, gently release the springform sides and peel away the parchment. Dust the top with powdered sugar or a light sprinkle of cocoa. For a splash of color and flavor, add fresh strawberries, blueberries, or even a dollop of whipped cream.
Pro tip: Cut the cake with a hot, dry knife to get clean, smooth slices. Wipe the knife between each cut. It’ll look chef-level fancy, I promise.
Part 4: Variations and Customizations for the Cloud Cake Recipe
The beauty of a cloud cake? It’s incredibly versatile. Once you’ve mastered the base, you can get creative with flavors, textures, and even dietary adaptations. Whether you’re in the mood for chocolatey indulgence or zesty citrus brightness—or need a dairy-free or gluten-free option—this cake has your back.
Flavor Variations for Every Sweet Tooth
Your cloud cake doesn’t have to stick to vanilla. These two flavor twists are easy to pull off and add a delicious spin on the classic.
Chocolate Cloud Cake (for Cocoa Lovers)
For those times when only chocolate will do—yes, you can totally turn this into a fluffy chocolate cloud cake. To do it:
- Add melted chocolate (about ½ cup of high-quality dark or semi-sweet) to your yolk mixture before folding.
- Alternatively, stir in 2 tablespoons of unsweetened cocoa powder to keep it lighter but still chocolaty.
- Reduce your sugar slightly—chocolate adds natural richness and intensity, and you want to avoid overpowering sweetness.
The result? A light-as-air chocolate cake that still jiggles, still melts in your mouth, but brings that deep cocoa flavor we all crave.
For more inspo, check out Bake with Zoha’s chocolate version that nails the balance of fluff and fudge.
Citrus-Infused Cloud Cake (Bright & Fresh!)
Want something a little sunnier? This one’s for you.
- Add 1 tablespoon of finely grated zest (lemon, lime, or orange) into your yolk base.
- For a stronger punch, you can also swap out 1–2 tablespoons of the liquid in your recipe with fresh citrus juice.
- Finish it off with a citrus glaze: mix powdered sugar with a few teaspoons of juice and drizzle once cooled.
This version is super refreshing, especially in spring or summer. It pairs beautifully with berries or a spoonful of Greek yogurt on the side.
Dietary Adaptations That Don’t Compromise Flavor
Going gluten- or dairy-free? You’re not alone—and thankfully, the cloud cake recipe plays well with substitutes.
Gluten-Free Options (Soft Texture, No Wheat Needed)
The great news is: cloud cake recipes are often naturally gluten-free! They rely mostly on eggs and dairy for structure. But double-check your ingredients:
- Use cornstarch or potato starch if your recipe calls for a little flour.
- Ensure your baking powder and other additives are certified gluten-free.
These swaps won’t mess with the texture—it stays just as airy and moist.
For more insight, you can explore tips from Browned Butter Blondie, who creates beautiful gluten-free bakes without sacrificing flavor or presentation.
Dairy-Free Alternatives (Light and Plant-Based)
Avoiding dairy? No problem!
- Swap cream cheese with plant-based options like almond cream cheese or coconut-based yogurt.
- Use non-dairy milk (such as oat or almond) sparingly, and adjust sweetness as some dairy-free options come pre-sweetened.
Keep in mind: dairy-free versions may not rise quite as high, but they’ll still deliver a silky texture and rich taste. In fact, some testers even preferred the subtle tang that plant-based yogurts bring.
Part 5: Tips, Tricks, and Troubleshooting for Cloud Cake Success
Even with a simple recipe like cloud cake, the tiny details can make a world of difference. From temperature control to mixing techniques, every step has its secrets. Below are time-tested tricks to help you avoid common pitfalls—and give your cake that pro-level softness and flavor.
Expert Tips for the Perfect Cloud Cake
No matter how many times you’ve baked, this cake will test your finesse. But once you master a few essential techniques, it becomes second nature.
Achieving Optimal Texture (That Cloud-Like Bounce!)
Let’s be honest—the star of this dessert is its fluffiness. To get that signature jiggle and soft bite:
- Use room temperature ingredients. Cold eggs are harder to whip and don’t incorporate well with the batter. Let them sit out for 30–60 minutes before starting.
- Fold like a feather. Over-mixing deflates the batter, while under-mixing leaves eggy streaks. Use a silicone spatula and fold in gentle, sweeping motions from the bottom up. Rotate the bowl as you go—this evenly incorporates without breaking the foam.
- Don’t rush the baking process. Avoid cranking up the temperature to speed things along. A slow, low bake is key to setting the structure without collapsing.
These texture-preserving habits are what set great cakes apart from good ones. As Truffle and Egg points out in their Japanese cake tutorials, the air inside your batter is everything.
Enhancing Flavor (Subtle Twists that Wow)
Cloud cakes are designed to be delicate—but that doesn’t mean bland.
- Balance is everything. Too much sugar makes the cake cloying; too little and it tastes like a pillow. If you’re adding citrus or cocoa, reduce sugar slightly to highlight those flavors.
- Add depth with extracts. Vanilla is a no-brainer, but don’t be afraid to try almond, orange blossom, or matcha for something unique. A few drops go a long way.
- Play with textures. A light glaze or fresh fruit on top adds contrast to the cloud-soft interior. Just keep toppings minimal to avoid weighing it down.
