
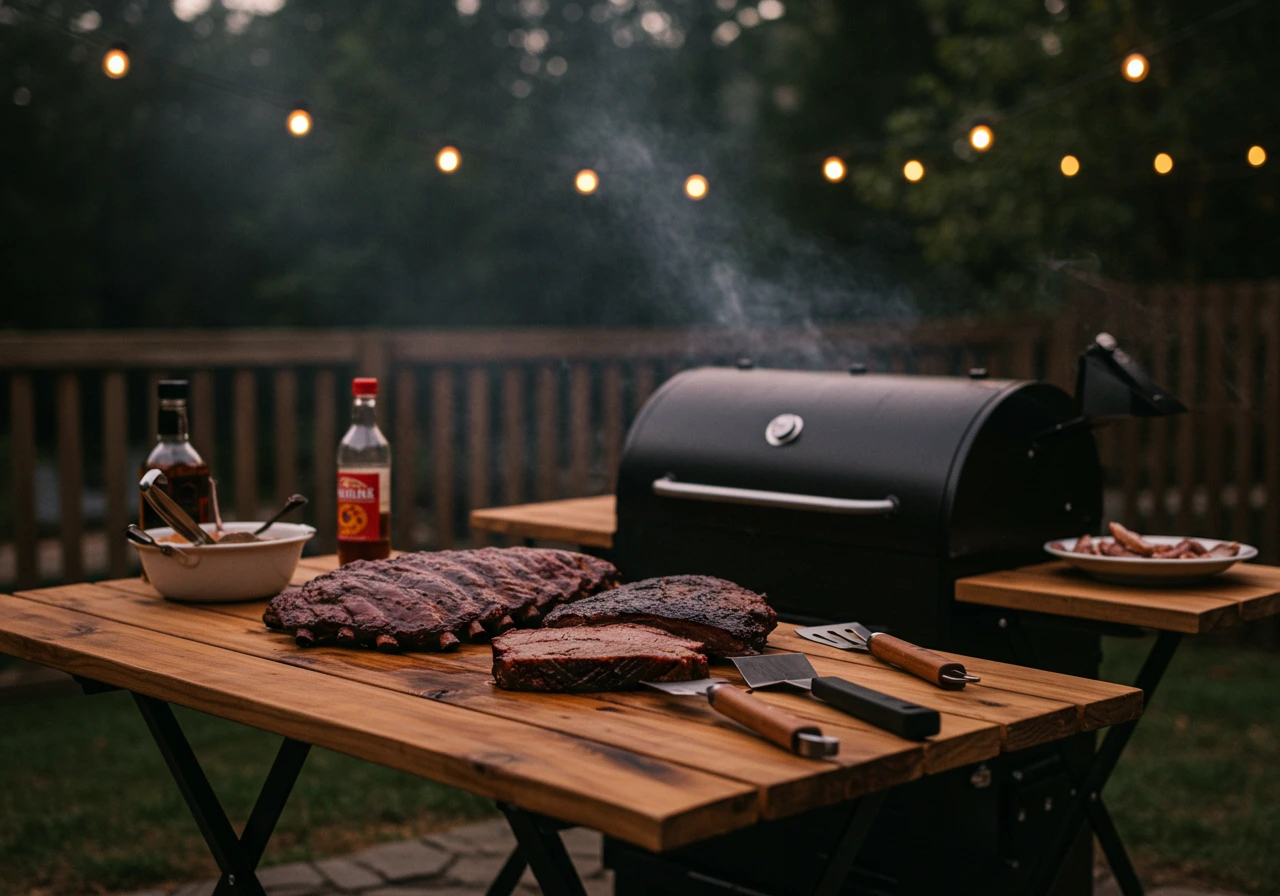
Barbecuing is more than a method—it’s a ritual, a weekend tradition, and, for many, an irresistible passion. The Pit Boss recipe stands at the center of this smoky world, fusing rich flavor, controlled heat, and pellet perfection into one unforgettable experience. Whether you’re just lighting your first fire or you’ve already lost count of briskets smoked, this guide is your flavorful roadmap.
Here, you’ll learn how to use your Pit Boss smoker like a true pitmaster. From selecting the right wood pellets and seasoning your meat to personal tricks I’ve learned trying these recipes myself, this article goes deep. Let’s dive right in, starting with the foundation of it all: the grill itself.
Part 1: Introduction to Pit Boss Grilling
Getting to Know the Pit Boss Grill
So what’s the big deal with Pit Boss grills, anyway? Well, for starters, they combine smoking, grilling, baking, roasting, and even searing—all in one pellet-powered powerhouse. These versatile backyard beasts have won over countless barbecue lovers by making complex smoking techniques easy for everyday cooks.
What truly sets them apart is their digital temperature control, reliable build quality, and rich smoke production. Plus, the flavor infusion from hardwood pellets? Next-level stuff. It’s no surprise that Pit Boss grill recipes are now a go-to for anyone chasing that perfect, smoky tenderness.
Why a Pit Boss Smoker Beats Traditional Grills
Let’s get real. Charcoal and gas grills certainly have their moments—but when it comes to long, slow, flavor-packed cooking, Pit Boss pellet grills take the crown. Their ability to maintain consistent temperatures over hours makes them ideal for smoking meats, even for total beginners.
Thanks to the digital controller, you can “set it and forget it” without stressing over constant flipping or adjusting. You can multitask while the grill turns a humble rack of ribs into a smoked masterpiece. As a bonus, it’s also environmentally friendlier than charcoal alternatives, which can produce more ash and emissions.
The Flavor Profile: What Makes Pit Boss Recipes Stand Out
There’s flavor… and then there’s Pit Boss flavor. It’s bold, deep, and kissed by sweet, nutty smoke. The secret? Hardwood pellets. Unlike traditional grills, pellet smokers use compressed sawdust from real wood—like mesquite, hickory, cherry, and apple—to infuse food with flavor.
This slow-smoked approach creates that unmistakable smoke ring in meats. It’s not just for looks—it means flavor has been deeply absorbed during cooking. Whether it’s brisket, ribs, or smoked chicken wings, that signature taste is hard to beat.
The Pit Boss Community and Culture
Now here’s something most people don’t talk about: the camaraderie behind the grill. Pit Boss owners don’t just cook—they share, compare, and celebrate their creations. Online forums, Facebook groups, YouTube channels—you name it—are brimming with smoky goodness and proud pitmasters flaunting their weekend wins.
In fact, when I first got my Pit Boss, I joined a local BBQ group and was blown away by the support and inspiration. Trust me, once you’ve posted your first glossy brisket pic, you’re officially part of the tribe.
Getting the Most Out of Your Grill
Still, owning a Pit Boss is just the start. To unlock its full potential, you’ve gotta understand its quirks, strengths, and tricks. That’s exactly what we’ll explore in the upcoming sections—from setup to seasoning, from troubleshooting to tasting. Spoiler alert: there will be juicy smoked ribs involved.
But before we fire up the grill, make sure you’ve bookmarked this article and gathered your essentials. Things are about to get smoky—in the best way possible.
Part 2: Getting Started with Your Pit Boss Grill
Understanding Your Pit Boss Grill
When you first lay eyes on a Pit Boss grill, it’s hard not to feel like you’ve just leveled up in the BBQ world. These machines are built for versatility, and different models cater to a wide range of grilling goals. Whether you snag the Pit Boss Sportsman, the Austin XL, or a compact Tailgater, each grill is powered by the same core principle—pellet fuel combined with precision control.
Most Pit Boss grills are equipped with a digital control board that lets you dial in temps with remarkable accuracy. This means you’re not stuck babysitting the grill—just set the temp and let the smoke do the work. Many models come with a flame broiler lever, allowing you to switch between indirect and direct heat instantly—great for searing steaks right after smoking them low and slow.
Plus, they’re multi-functional. Think beyond brisket. These grills bake, roast, and even braise. I’ve personally used mine to whip up cheesy stuffed peppers and even fresh flatbread. Pretty wild for a smoker, right?
All in all, understanding your grill’s features and limitations sets the tone for everything you’ll create. And trust me, the possibilities are endless.
Essential Tools and Accessories for Pit Boss Success
Now that you’ve got your smoker, it’s time to gear up with the right tools. Cooking with a Pit Boss isn’t just about tossing meat on grates—it’s an experience, and having the right gear takes it to the next level.
1. Digital Meat Thermometer
This one’s non-negotiable. You need an accurate internal reading to avoid overcooked (or worse—undercooked) results. Some grills have built-in probes, but I always keep a handheld instant-read thermometer on standby.
2. Heat-Resistant Gloves
Because let’s be real—nothing kills the mood like singed fingers. Grab a solid pair of BBQ gloves for handling hot grates, moving food, or adjusting the flame broiler.
3. Grill Cover
Pellet grills aren’t cheap, and neither is replacing their components due to rust or water damage. A custom-fit grill cover keeps your investment protected from the elements.
4. Ash Vacuum
Cleanup can be a buzzkill, but it doesn’t have to be. An ash vacuum helps you clean out the firepot quickly, which improves airflow and grill performance.
5. BBQ Utensil Set
Don’t skimp here—long-handled tongs, a spatula, a sturdy meat fork, and a basting brush are your go-to weapons. Some even come with built-in bottle openers (not a bad bonus).
6. Wood Pellets Storage Bin
Moisture ruins wood pellets faster than you can say “smoked wings.” Store them in an airtight container to keep ‘em fresh and ready to burn.
Part 3: Preparing for the Cook
Selecting the Right Cut of Meat
Let’s face it—great BBQ starts with great meat. You can have the best smoker, the fanciest rub, and premium pellets, but if the meat’s subpar? You’ll never hit that juicy, fall-apart perfection that makes people swoon. That’s why choosing the right cut for your Pit Boss recipe is essential.
For ribs, go with St. Louis-style or baby backs. They’ve got a beautiful meat-to-fat ratio and cook up tender with a lovely bark. If brisket’s on your mind (and hey, it should be!), look for one with good marbling and a nice fat cap—USDA Prime or Choice are golden standards.
Pork shoulder or Boston butt? Absolutely. It’s budget-friendly, forgiving, and turns into pulled pork magic with enough smoke and time. And let’s not sleep on chicken thighs—juicy, flavorful, and super quick to smoke compared to beef.
If you’re browsing at the butcher, ask them for “smoker-friendly” cuts. They’ll know what holds up best to long cook times and absorbs flavor like a sponge. Oh, and always let your meat rest before cooking—it enhances texture and locks in those juicy flavors.
🔥 Bonus Tip: Always buy fresh over frozen if possible—it makes a world of difference in texture and taste.
Seasoning and Marinades for Smoked Meat
Alright, now we’re getting into the flavor-building zone. Seasoning is where your meat starts to develop its identity. And with a Pit Boss grill, the low and slow process lets every herb and spice sink deep into the meat.
Let’s start with dry rubs. These are my go-to for ribs, brisket, and chicken. A killer base includes brown sugar, paprika, garlic powder, onion powder, salt, and black pepper. Want heat? Add cayenne. Prefer sweet? More brown sugar or even cinnamon can work wonders. You can also go bold with coffee grounds or ground mustard—yes, really.
For wet marinades, think acidic meets aromatic. Apple cider vinegar, lemon juice, or even yogurt can tenderize meat beautifully. Mix that with olive oil, fresh herbs, crushed garlic, and maybe a splash of soy sauce for a savory kick. Let meat soak overnight if you can, or at least 4 hours for decent flavor infusion.
When seasoning, don’t be shy. Rub it in like you mean it. Get into all the nooks and crannies. I’ve even let a brisket sit with rub for 24 hours in the fridge—it came out smoky, tender, and bursting with flavor.
Pro Tip: Combine dry rub and marinade steps—marinate first, pat dry, then rub before smoking. Flavor city.
Part 4: The Smoking Process
Setting Up Your Pit Boss Grill
Getting your Pit Boss ready to smoke isn’t complicated, but it’s crucial. Think of this step as laying the foundation for a deliciously smoky finish. When done right, you set yourself up for consistent heat, clean flavor, and less stress along the way.
First, give the grill a quick clean. Make sure the firepot’s free of ash and old debris. This ensures proper airflow and avoids weird smoke flavors. Next, load the hopper with your choice of wood pellets—don’t worry, we’ll cover flavor pairings in just a sec.
Turn on the grill and set it to the “Smoke” setting (usually around 180–200°F). This starts the ignition and lets the auger feed pellets into the firepot. You’ll hear a hum and smell that first kiss of smoke—music to a Pit Boss lover’s ears.
Once white smoke turns to blue (yes, that’s a thing), set your desired temperature on the controller. Let the grill preheat for about 10–15 minutes with the lid closed. Meanwhile, get your seasoned meat ready to go.
💡 Tip: Always use a drip tray and place a water pan inside the chamber. This maintains moisture and catches drippings—making cleanup a breeze.
Choosing the Right Wood Pellets for Pit Boss Recipes
Ah, the secret sauce of pellet grilling—wood pellet flavors. These tiny compressed bits of hardwood pack a massive punch, and each type has its own personality. Pick the right one, and your meat sings. Pick wrong, and, well… it hums off-key.
Here’s a quick flavor guide to help you decide:
| Wood Type | Flavor Profile | Best For |
|---|---|---|
| Hickory | Bold, smoky, bacon-like | Ribs, pork shoulder, brisket |
| Apple | Mild, sweet, fruity | Chicken, turkey, pork chops |
| Mesquite | Strong, earthy, intense | Beef, game meat |
| Cherry | Slightly sweet, subtle | Duck, chicken, pork loin |
| Maple | Sweet, mild, buttery | Vegetables, poultry, sausages |
| Pecan | Nutty, smooth, medium smoke | Brisket, baked goods, pork |
Want a universal go-to? Hickory or a blend like Pit Boss Competition Blend is fantastic for most meats. I’ve tried it with ribs, wings, and even grilled stuffed mushrooms—it just works.
Also, avoid mixing flavors unless you know what you’re doing. Some combos clash rather than complement. And always store pellets in an airtight bin to keep them from getting soggy or moldy.
🔥 Fun fact: Using a lighter wood like applewood with pork gives it a beautiful, golden finish and delicate flavor.
Temperature Control and Monitoring Tips
If smoking meat is an art, temperature control is the brushstroke. You don’t need to micromanage your Pit Boss, but understanding how to monitor and adjust temperature can make or break a cook.
Start by setting your target temp—225°F for ribs, 250°F for pork shoulder, and maybe up to 275°F for chicken skin crispiness. The digital control board does the heavy lifting, but your job is to keep things stable.
Use the built-in probes to monitor internal meat temperature. However, always double-check with a handheld instant-read thermometer for accuracy. I learned the hard way—my ribs looked done, but were still tight around the bone.
Wind, outside temp, and even direct sunlight can mess with consistency. If it’s cold or windy, consider using an insulated blanket over your smoker. And resist opening the lid too often—each peek drops the internal temp and extends your cooking time.
Part 5: Pit Boss Smoked Ribs Recipe
Ingredients List for Smoked Ribs
To create tender, flavorful Pit Boss smoked ribs that fall off the bone, you need a balanced combination of sweet, spicy, and savory ingredients. Here’s what you’ll want to gather before the smoke starts rolling:
Main Ingredients
- 2 full racks of St. Louis-style pork ribs (or baby backs, if preferred)
- 2 tablespoons yellow mustard (used as binder)
Dry Rub
- 2 tablespoons brown sugar
- 1 tablespoon smoked paprika
- 1 teaspoon chili powder
- 1 teaspoon garlic powder
- 1 teaspoon onion powder
- 1 teaspoon kosher salt
- 1/2 teaspoon black pepper
- 1/4 teaspoon cayenne pepper (optional, for heat)
Mop/Wrap Ingredients
- 1/4 cup apple cider vinegar
- 1/4 cup apple juice
- 2 tablespoons unsalted butter
- 2 tablespoons honey
Finishing Sauce
- 1/2 cup of your favorite BBQ sauce (or homemade)
- Optional: a splash of Worcestershire for depth
💡 Tip: Choose a mild wood pellet like apple or cherry for a sweeter, fruitier profile—or hickory for that bold, classic punch.
Preparation Steps: Trimming, Seasoning, and Marinating
Before the ribs ever touch smoke, prep is everything. A few smart steps here ensure flavor penetrates deep, and texture turns melt-in-your-mouth tender.
Step 1: Trim the Ribs
Start by flipping the ribs bone-side up. Using a paper towel for grip, peel off the silver skin (membrane) covering the bones. It’s chewy and blocks flavor, so don’t skip this! Trim excess fat and any ragged edges to keep it tidy.
Step 2: Apply the Binder
Rub a light layer of yellow mustard on both sides. No, it won’t taste like mustard. It just helps the seasoning stick beautifully while also tenderizing a bit.
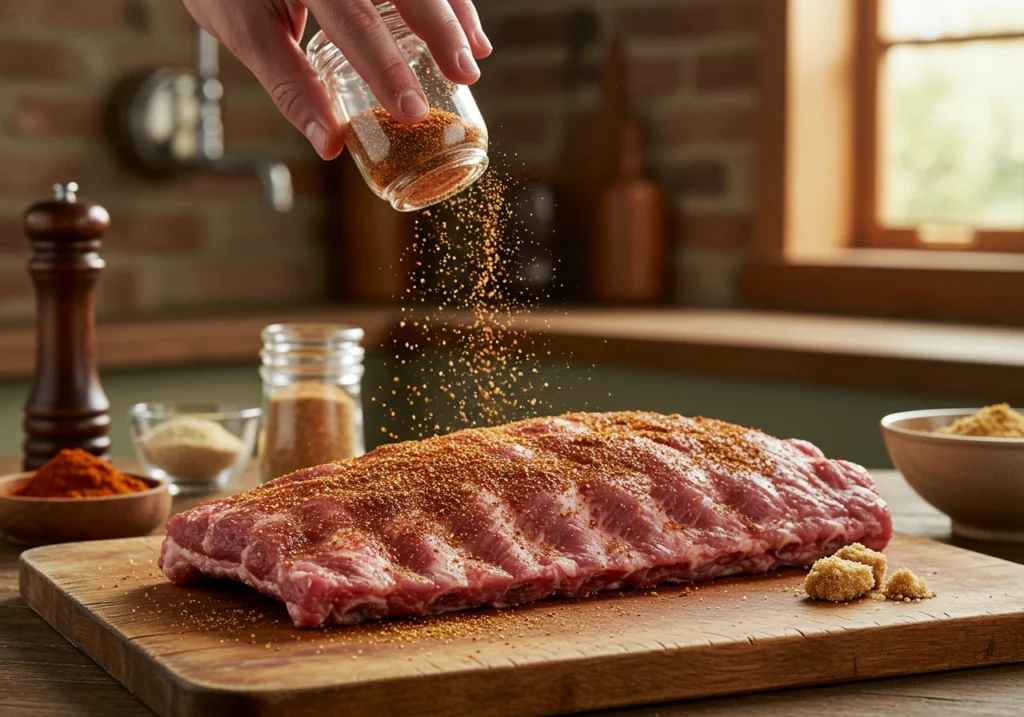
Step 3: Season Generously
Mix your dry rub spices in a small bowl. Apply evenly, pressing the rub into the meat—not just sprinkling. Make sure to coat all sides and edges.
Step 4: Let It Rest
Cover the ribs with plastic wrap and refrigerate for at least 2 hours. Overnight is even better for deeper flavor absorption. Let the ribs come to room temperature for 30 minutes before placing on the grill.
✨ Optional marinade: If you prefer a wet marinade, soak the ribs in a mix of apple juice, soy sauce, and a splash of vinegar for 4–6 hours, then pat dry and apply the dry rub.
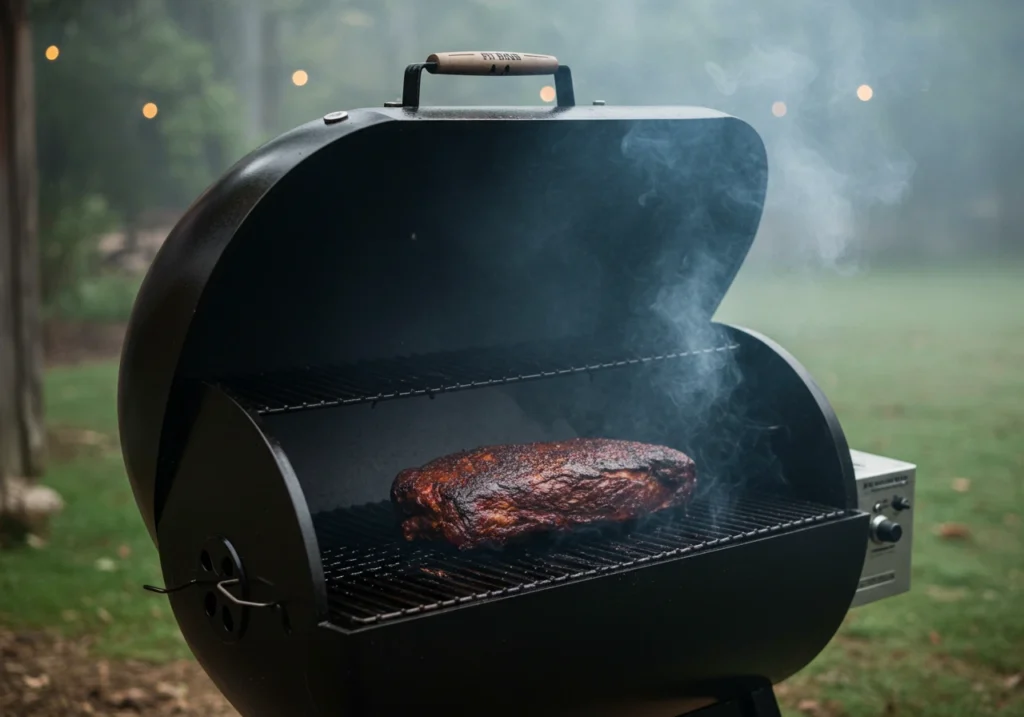
Smoking the Ribs on a Pit Boss Grill
Time to let the smoke do its magic. The beauty of a Pit Boss pellet smoker is in its ability to maintain steady temps, making this process nearly foolproof—even for beginners.
Step 1: Preheat the Grill
Fire up your Pit Boss and set it to 225°F using applewood or hickory pellets. Make sure the water pan is filled and placed under the grill grates for moisture.
Step 2: Place the Ribs
Once preheated, lay the ribs bone-side down on the grates. Avoid crowding; allow space for airflow and even smoke circulation.
Step 3: Follow the 3-2-1 Method
- 3 Hours: Smoke ribs uncovered. Spritz every hour with apple juice or apple cider vinegar.
- 2 Hours: Wrap ribs in foil with 2 tablespoons of butter, honey, and a splash of apple juice. Return them to the grill.
- 1 Hour: Unwrap and brush with BBQ sauce. Let the ribs firm up and develop that beautiful caramelized glaze.
Use a probe thermometer if possible. Ribs are typically done when they reach 195–203°F internally or when the bones start poking out and the rack bends easily.
⚠️ Don’t forget to monitor pellet levels! Running out mid-cook is a surefire way to ruin your cookout.
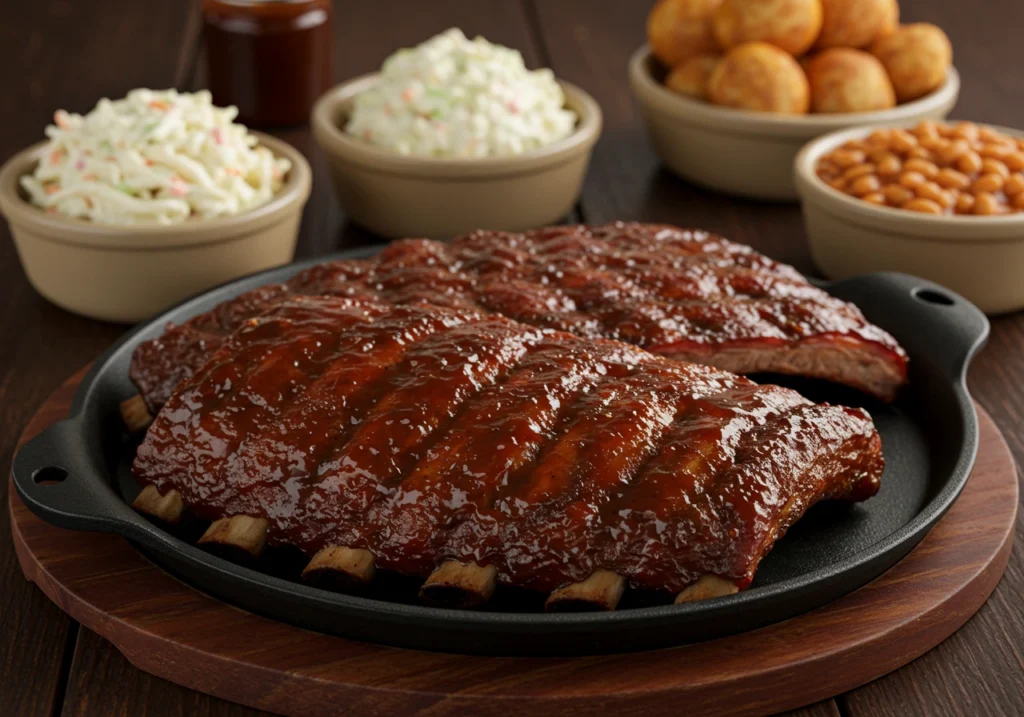
Finishing Touches for Perfect Pit Boss Ribs
Here’s where that glossy, drool-worthy finish comes into play. Once the final hour hits and your ribs are unwrapped, they’ll have a rich color and be practically begging for BBQ sauce.
Step 1: Sauce Them Right
Brush on a thin layer of warm BBQ sauce during the last 30 minutes of smoking. This prevents burning and helps the sugars caramelize into a sticky, savory bark. Flip and baste both sides if you love extra saucy ribs.
Want a more intense glaze? Baste every 10 minutes in that last half-hour.
Step 2: Let Them Rest
Pull the ribs off the grill and tent them loosely with foil. Let them rest for at least 10–15 minutes. This redistributes the juices and keeps every bite juicy and tender.
Step 3: Slice and Serve
Use a sharp knife to cut between the bones. You should see a lovely pink smoke ring, glistening juices, and a perfect bite-through texture.
Part 6: Frequently Asked Questions
Is a Pit Boss as good as a Traeger?
Ah, the age-old pellet grill showdown! While Traeger is known for its long-standing brand presence and polished design, Pit Boss holds its own—and often at a better price point. Both offer digital temperature controls, wood pellet technology, and dependable cooking performance. However, Pit Boss stands out with its direct-flame searing option and larger hoppers on several models. In my experience, you can achieve mouthwatering smoked meats with either, but if you’re after more features at a lower cost, Pit Boss might be the smarter buy—especially for beginners or backyard pitmasters on a budget.
What is the best first thing to cook on a pellet grill?
If you’re new to pellet grilling, ribs are great—but I’d suggest starting with chicken thighs or pork tenderloin. Why? They’re affordable, cook faster, and super forgiving. Chicken thighs, in particular, stay juicy even if you overshoot your temperature slightly. Plus, they’re ideal for experimenting with dry rubs or smoke flavors like applewood or pecan. Cooking these first lets you dial in your grill settings without the risk of wasting expensive cuts. So grab some thighs, slap on a sweet and smoky rub, and let your Pit Boss work its magic—it’s a tasty way to build your BBQ confidence.
Should Pit Boss grate be open or closed when smoking?
Great question—and it depends on what you’re cooking. For true low-and-slow smoking, the flame broiler plate (grate) should remain closed. This allows indirect heat to circulate, giving you that rich, even smoke flavor without charring the meat. Opening the grate is great for direct heat searing—perfect for steaks or finishing off burgers—but not ideal when you want tender ribs or brisket. So, when smoking at temps around 225°F–250°F, keep the flame broiler shut. It maintains steady temperature and consistent smoke flow. Save the open grate technique for when you want a nice crust or charred finish.
What not to do on a pellet grill?
Pellet grills are user-friendly, but there are a few common mistakes to dodge. First, don’t use wet or clumped pellets—they’ll jam the auger and mess with your fire. Always store pellets in a dry, sealed container. Second, avoid constantly opening the lid—it causes temperature swings and delays your cook. Third, don’t forget to clean the firepot and drip tray regularly, or you’ll risk flare-ups and inconsistent heat. Lastly, never use regular lighter fluid or charcoal—it’s a wood pellet grill, after all! Stick to the rules, and you’ll enjoy smooth, smoky BBQ sessions every single time.
Part 7: Conclusion
Final Thoughts on Mastering Pit Boss Recipes
Mastering the Pit Boss recipe journey isn’t just about cooking—it’s about creating memorable moments around the fire. With every rack of ribs, brisket slice, or smoked veggie tray, you’re not just feeding stomachs—you’re feeding souls. Sure, it might take a few tries to get that perfect smoke ring or ideal bark, but that’s all part of the fun.
The Pit Boss grill gives you the tools. The rest? That’s your playground. So experiment with pellets, tweak your rubs, test new cuts of meat—and don’t be afraid to make it your own. Because every cookout is a chance to level up your flavor game and bond with friends and family over the unmistakable taste of wood-fired perfection.
Fire it up, enjoy the process, and remember—great barbecue isn’t rushed; it’s crafted with patience, smoke, and a whole lotta love.