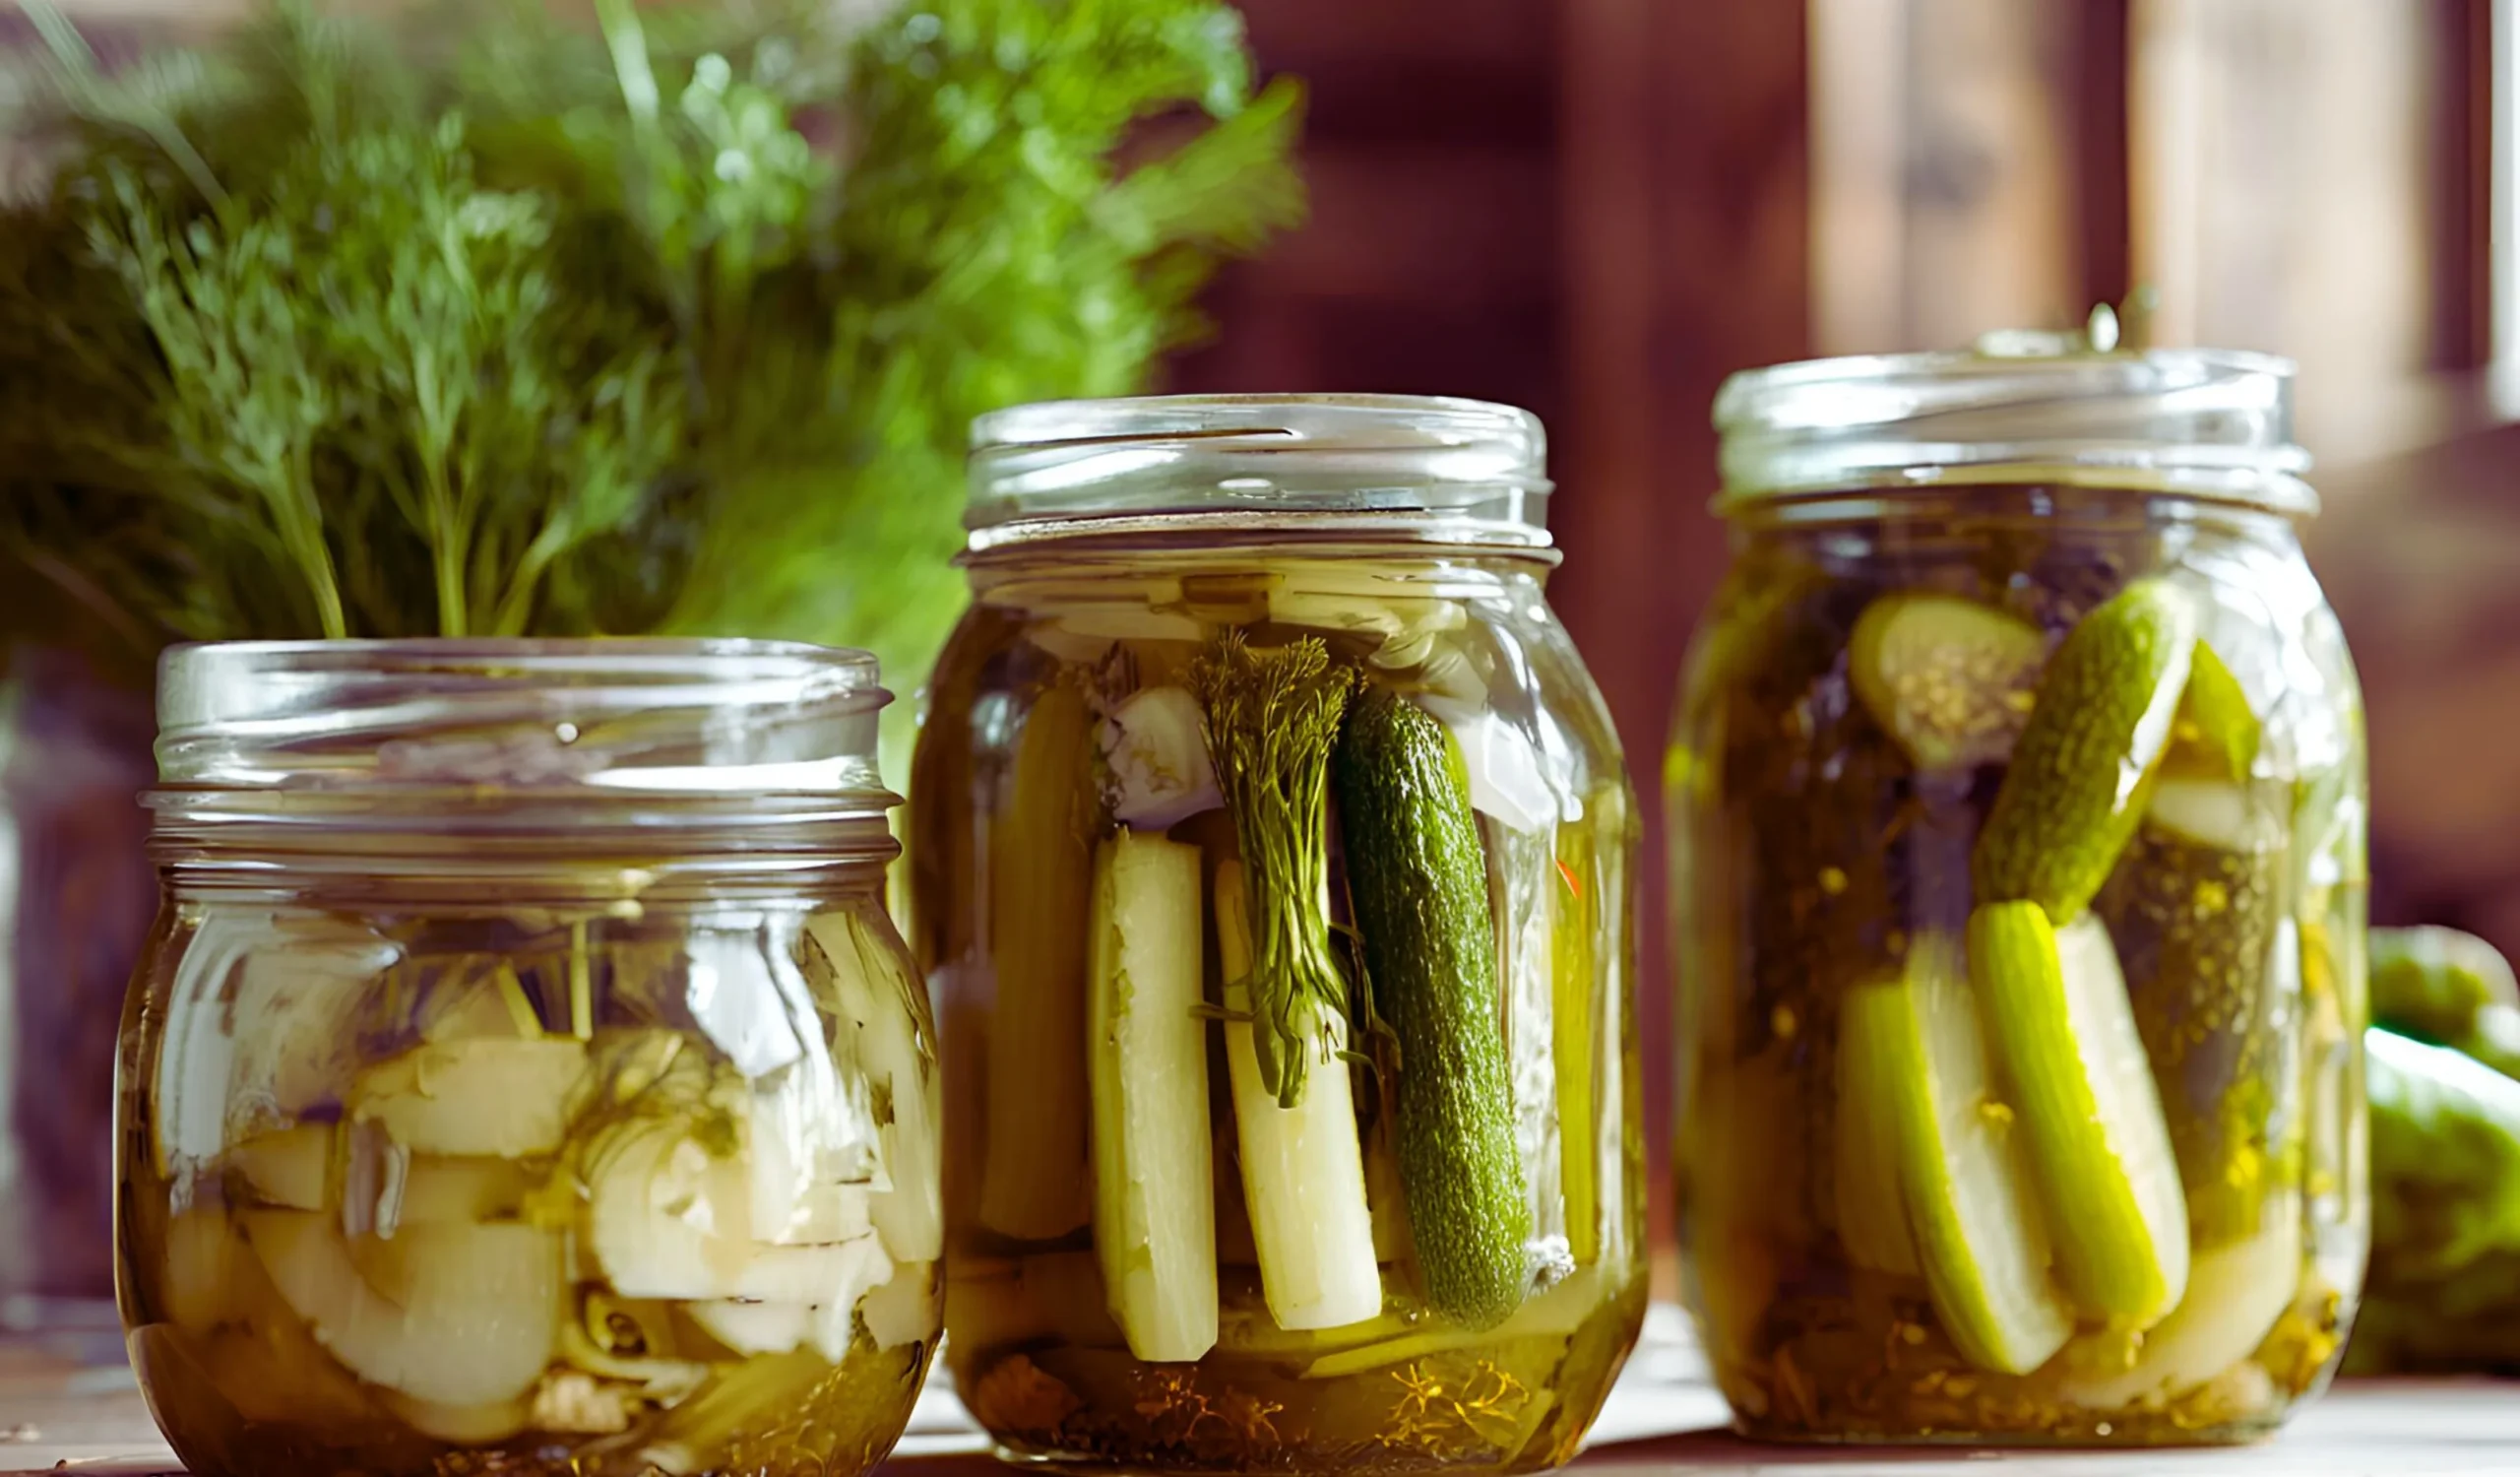
Perfect Kosher Dill Pickle Recipe: A Step-by-Step Guide to Crunchy Homemade Pickles
Introduction
If there’s one food that truly stands the test of time, it’s the beloved kosher dill pickle. With its crisp texture and tangy flavor, it has become a classic favorite, adored not just in Jewish delis but also worldwide. This guide will take you on a flavorful journey, teaching you how to make the best homemade kosher dill pickles from scratch. From understanding the role of each ingredient to step-by-step instructions, you’ll be creating pickles so crunchy and delicious that you’ll never go back to store-bought.
Let’s dive in and unlock the secrets of the perfect kosher dill pickle recipe!
Part 1: Introduction to Kosher Dill Pickles – A Perfect Kosher Dill Pickle Recipe
What Are Kosher Dill Pickles?
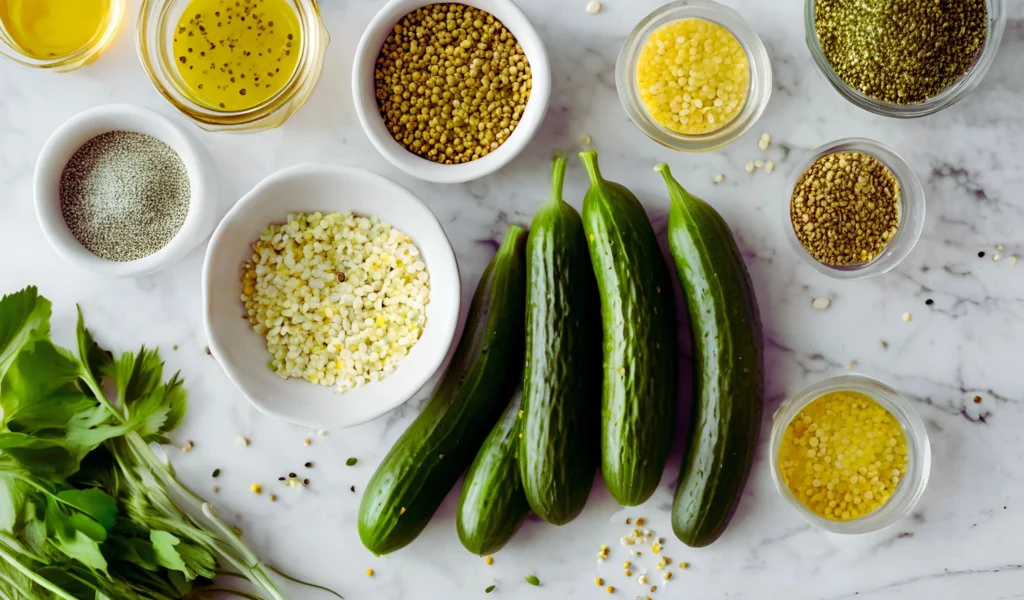
Kosher dill pickles aren’t just ordinary pickles. They’re brined cucumbers infused with the distinct flavor of garlic and fresh dill, creating that unmistakable zesty kick. The term kosher refers to the pickling process itself, which often aligns with kosher dietary laws and typically includes generous amounts of garlic in the Kosher dill pickle recipe.
Unlike regular pickles, kosher dill pickles are celebrated for their bold and savory profile. They’re a staple in Jewish cuisine and have evolved into a popular snack and condiment for people from all walks of life.
Historical Background
Tracing the roots of the kosher dill pickle takes us back to Eastern Europe, where Jewish communities perfected the art of fermentation. Cucumbers were preserved during harsh winters using natural brines, with dill and garlic adding an extra layer of flavor.
As Jewish immigrants brought their recipes to America, pickles gained widespread popularity in New York City delis. Today, they’re a cherished part of both cultural heritage and modern-day cuisine.
Importance in Culinary Traditions
Kosher dill pickles have transcended their humble beginnings. From being served alongside hearty sandwiches in Jewish delis to accompanying hamburgers, they’ve found a way to fit into every meal. Beyond the table, they represent an art form, showcasing how food preservation can be elevated into a culinary masterpiece.
Part 2: Understanding the Ingredients for Your Kosher Dill Pickle Recipe
Selecting the Right Cucumbers
When crafting the perfect kosher dill pickle, the choice of cucumber is paramount. Kirby cucumbers are often favored due to their firm texture and smaller size, which allows them to absorb brine effectively. These cucumbers are also less watery, ensuring your pickles remain crisp and flavorful.
Freshness is critical—opt for cucumbers that are vibrant green, firm to the touch, and free of blemishes. Avoid overripe cucumbers, as their softer texture may result in mushy pickles. And don’t forget, smaller cucumbers tend to yield better crunch, making them ideal for this recipe.
Fresh Dill: A Key Component
The fresh, herby aroma of dill is what sets kosher dill pickles apart from the rest. This fragrant herb not only infuses the brine with its distinct flavor but also complements the tangy vinegar beautifully.
When selecting dill, look for vibrant green sprigs with soft, feathery leaves. Avoid any that appear wilted or yellowed. Store dill in the refrigerator wrapped in a damp paper towel to keep it fresh until use. If fresh dill isn’t available, dill seeds can be used as an alternative, although they may yield a slightly different flavor profile.
Garlic and Other Aromatics
Garlic is the backbone of a kosher dill pickle recipe. Its pungent flavor permeates the brine, creating that irresistible kick we all love. Use fresh garlic cloves, peeled and lightly crushed, to release their natural oils.
To enhance the pickles further, consider adding optional spices like mustard seeds, black peppercorns, or coriander seeds. These spices lend complexity to the brine and allow you to customize the flavor to suit your palate, making each batch of Kosher dill pickles uniquely yours,
The Role of Salt in Pickling
Salt plays a pivotal role in the pickling process. For a Kosher dill pickle recipe, kosher salt is the preferred choice due to its pure, clean taste and lack of additives. It ensures proper fermentation while helping to draw out moisture from the cucumbers, creating an ideal environment for brining.
Avoid iodized table salt, as it can cloud the brine and introduce unwanted flavors. Maintaining the correct salt-to-water ratio is essential for achieving pickles with the perfect texture and flavor balance.
Vinegar: Types and Uses
Vinegar provides the tangy acidity that defines pickles. For kosher dill pickles, distilled white vinegar is a popular choice, as its neutral flavor doesn’t overpower the dill and garlic.
Alternatively, apple cider vinegar can be used for a slightly sweeter and fruitier profile. Whichever vinegar you choose, ensure it has at least 5% acidity to preserve the cucumbers effectively. Balancing the vinegar with water ensures the brine isn’t too sharp or overpowering.
Part 3: Equipment and Preparation for Your Kosher Dill Pickle Recipe
Essential Tools for Pickling
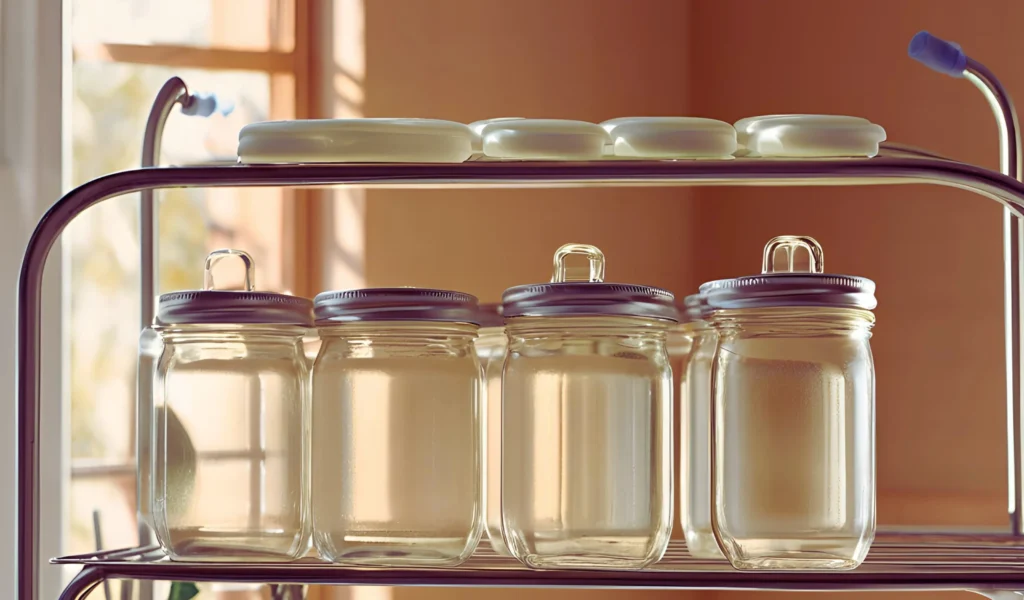
Having the right tools can simplify the pickling process and ensure successful results. First and foremost, you’ll need glass jars with airtight lids. Mason jars are a popular choice due to their durability and reusability. Opt for jars large enough to fit your cucumbers snugly but with room for the brine to circulate.
A canning funnel is another handy tool for pouring brine without spills. Tongs or jar lifters help safely handle hot jars during sterilization, reducing the risk of contamination. Measuring spoons, a kitchen scale, and a large pot for preparing the brine round out the essentials.
Sterilization is crucial to prevent spoilage. Boil the jars and lids in water for 10–15 minutes, then let them dry completely before use. This simple step eliminates bacteria and ensures a longer shelf life for your pickles.
Preparing the Cucumbers
Preparation is key to achieving the perfect texture and flavor. Start by thoroughly washing the cucumbers under running water to remove any dirt or residue. Use a vegetable brush if necessary, especially if they’ve been freshly harvested.
Trim both ends of each cucumber, as the blossom end contains enzymes that can soften the pickles over time. Depending on your preference, you can leave the cucumbers whole, slice them into spears, or cut them into chips. Keep the cuts uniform to ensure even brining and a consistent crunch.
Creating the Brine
The brine is the heart of any kosher dill pickle recipe. To make it, combine water, vinegar, kosher salt, and optional sugar in a large pot. Heat the mixture until the salt dissolves completely. At this stage, you can add mustard seeds, peppercorns, and other spices to infuse the brine with additional flavor.
Allow the brine to cool to room temperature before pouring it over the cucumbers. This prevents heat from damaging their texture. Taste the brine beforehand and adjust the salt or vinegar to suit your liking—this ensures a perfect balance of tanginess and saltiness.
Part 4: The Pickling Process – Perfecting Your Kosher Dill Pickle Recipe
Packing the Jars
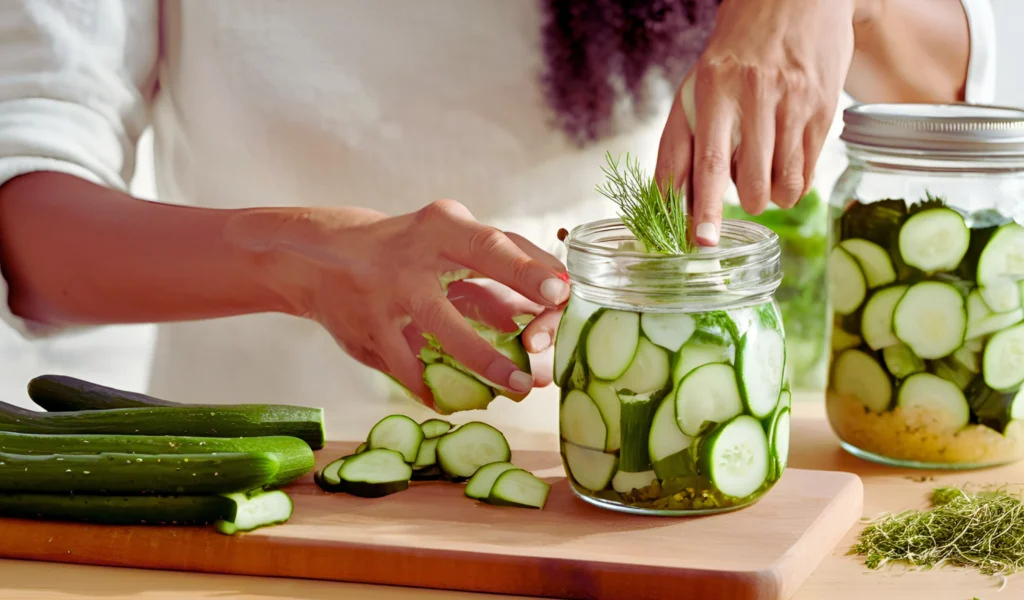
The first step in the pickling process is to pack the jars with care. Begin by placing a few sprigs of fresh dill at the bottom of each sterilized jar. Next, add a couple of garlic cloves and any additional aromatics like mustard seeds or peppercorns.
Layer the cucumbers into the jar, ensuring they’re snug but not overly crowded. This allows the brine to surround each piece fully. For a professional touch, arrange the cucumbers vertically for whole pickles or stack them neatly if sliced. Once packed, add another sprig of dill and a few more spices on top.
Finally, pour the cooled brine over the cucumbers until they’re completely submerged. Leave about ½ inch of headspace at the top to allow for expansion during fermentation. Tightly seal the jar lids to create an airtight environment.
Fermentation vs. Quick Pickling
When it comes to kosher dill pickles, you have two main options: fermentation or quick pickling. Fermentation relies on natural bacteria to transform the cucumbers over time, resulting in a more complex flavor. On the other hand, quick pickling uses vinegar for immediate tanginess, skipping the fermentation step altogether.
Fermentation:
- Requires 1–2 weeks at room temperature.
- Produces a classic sour pickle with probiotic benefits.
Quick Pickling:
- Ready in just 24–48 hours.
- Offers a fresh, bright flavor but lacks the depth of fermentation.
Both methods have their charm, so the choice depends on your preference and patience.
Fermentation Timeline and Monitoring
If you choose fermentation, timing and observation are critical. Store the jars at room temperature in a dark, cool spot, like a pantry or cupboard. After 24–48 hours, you’ll notice small bubbles forming in the brine—this is a sign that fermentation has begun.
Over the next 7–14 days, check the jars daily for signs of spoilage, such as mold or an unpleasant odor. Use a clean utensil to gently press the cucumbers under the brine if they start floating. Taste the pickles periodically; they’re ready when they reach your desired level of tanginess.
Sealing and Storing the Pickles
Once the pickling process is complete, it’s time to seal and store your creations. For quick pickles, transfer the jars to the refrigerator immediately. They’ll stay fresh for up to two months.
Fermented pickles should also be refrigerated after fermentation halts, extending their shelf life to several months. Keep the jars tightly sealed and ensure the pickles remain submerged in brine to prevent spoilage. Proper storage not only maintains their crunch but also preserves their signature tangy flavor.
Part 5: Detailed Kosher Dill Pickle Recipe
Ingredients List
To craft the perfect kosher dill pickle, you’ll need the following:
- Kirby cucumbers: 2 pounds (washed and trimmed)
- Fresh dill sprigs: 6–8 (plus extra for garnish)
- Garlic cloves: 4–6 (peeled and lightly crushed)
- Kosher salt: 3 tablespoons
- Distilled white vinegar: 2 cups
- Water: 2 cups
- Mustard seeds: 1 teaspoon
- Black peppercorns: 1 teaspoon
- Optional: Red pepper flakes, coriander seeds
Step-by-Step Preparation Instructions
- Prepare the Cucumbers:
Wash the cucumbers thoroughly, scrubbing off any dirt. Trim both ends to maintain crispness. Depending on your preference, leave them whole, slice into spears, or cut into chips. - Sterilize the Jars:
Boil the glass jars and lids in water for 10–15 minutes. Allow them to air-dry completely to eliminate contaminants. - Make the Brine:
In a large pot, combine water, vinegar, and kosher salt. Heat the mixture over medium heat until the salt dissolves. Add mustard seeds, peppercorns, and optional spices for extra flavor. Let the brine cool to room temperature. - Pack the Jars:
Place a sprig of dill and 1–2 garlic cloves at the bottom of each jar. Add the cucumbers, arranging them snugly without overcrowding. Top with another sprig of dill. - Pour the Brine:
Carefully pour the cooled brine into each jar, ensuring the cucumbers are fully submerged. Leave about ½ inch of headspace. - Seal the Jars:
Tighten the lids securely. If fermenting, loosen the lids slightly to allow gases to escape. For quick pickles, seal completely and refrigerate immediately. - Ferment or Store:
For fermentation, leave the jars at room temperature for 7–14 days. For quick pickling, refrigerate for at least 24–48 hours before serving.
Tips for Achieving the Perfect Crunch
- Use fresh Kirby cucumbers—older ones lose their firmness.
- Add a few grape leaves or a pinch of calcium chloride to the jar. These help preserve crunch during fermentation.
- Avoid boiling the cucumbers, as heat softens them.
Common Mistakes to Avoid
- Using the wrong salt: Stick to kosher salt to avoid cloudiness and unwanted flavors.
- Improper sterilization: Skipping this step can lead to spoilage.
- Overcrowding jars: Ensure the brine can reach every cucumber.
Part 6: Nutritional Information for Your Kosher Dill Pickle Recipe
Nutritional Content (per 100g)
| Nutrient | Amount per 100g |
|---|---|
| Calories | 11 kcal |
| Carbohydrates | 2.4 g |
| Sugars | 1.1 g |
| Fiber | 1.2 g |
| Protein | 0.5 g |
| Fat | 0.1 g |
| Sodium | 1200 mg |
| Vitamin C | 2.3 mg |
| Calcium | 25 mg |
| Iron | 0.3 mg |
Health Benefits and Considerations
Kosher dill pickles are low in calories but packed with flavor, making them an excellent snack or side dish. Their probiotic content, especially in fermented pickles, can support gut health by promoting healthy digestion.
However, their high sodium content is a factor to consider. Those monitoring their salt intake should enjoy pickles in moderation and ensure they balance their diet with lower-sodium foods.
Part 7: Serving Suggestions and Culinary Uses for Your Kosher Dill Pickles
Pairing with Dishes
Kosher dill pickles pair perfectly with hearty sandwiches, burgers, and hotdogs, adding a tangy crunch to every bite. They’re also a staple side for smoked meats and cold cuts in traditional Jewish delis. For something unique, serve them alongside cheese boards or charcuterie platters.
Incorporating into Recipes
Use kosher dill pickles to elevate your dishes:
- Dice them for a flavorful addition to potato or egg salads.
- Chop them finely to create a tangy tartar sauce.
- Add them to wraps or flatbreads for a burst of acidity.
The versatility of kosher dill pickles ensures they’ll enhance almost any meal!
Part 8: Frequently Asked Questions (FAQs) About Kosher Dill Pickles
How long do homemade kosher dill pickles last?
Homemade kosher dill pickles typically last about 2–3 months when stored properly. Quick pickles should be refrigerated immediately and kept in an airtight jar to maintain freshness. Fermented pickles, on the other hand, can last up to 6 months if kept in a cool refrigerator.
To maximize shelf life, always ensure that the cucumbers remain fully submerged in the brine. If any pickles float above the liquid, they could spoil or develop mold. Always use a clean utensil when removing pickles from the jar to avoid introducing bacteria.
Can I reuse the brine for another batch?
While reusing brine may seem economical, it’s not always the best choice for quality or safety. Brine from quick pickles may lack sufficient salt and vinegar levels for a second round, leading to inconsistent flavor and potential spoilage.
For fermented pickles, reusing brine can disrupt the balance of beneficial bacteria. If you want to save the brine, consider using it to marinate vegetables or as a tangy salad dressing base instead. Always start fresh for the best results.
Why did my pickles turn out soft instead of crunchy?
Soft pickles are a common frustration for beginners, often caused by improper preparation or storage. Overripe cucumbers, insufficient salt, or exposure to heat during brining can lead to softness.
To prevent this, always use fresh Kirby cucumbers and trim the blossom ends, as enzymes there can cause softening. Adding grape leaves or calcium chloride to the jar can help maintain crispness. Finally, ensure the cucumbers are fully submerged in cold brine to preserve their texture.
Is it necessary to use kosher salt?
Yes, kosher salt is essential for kosher dill pickle recipes. Its coarse texture and lack of additives make it ideal for pickling, providing a clean, unobtrusive flavor.
Table salt, which often contains iodine and anti-caking agents, can cloud the brine and alter the taste. If kosher salt isn’t available, pickling salt is a suitable alternative. Always measure by weight rather than volume when substituting salts to maintain the correct ratio.
Can I add other spices to customize the flavor?
Absolutely! One of the joys of homemade pickling is experimenting with flavors. Alongside garlic and dill, you can include mustard seeds, coriander seeds, black peppercorns, or red pepper flakes for a spicy kick.
For a unique twist, try adding fresh herbs like thyme or tarragon. Remember to adjust the brine to balance the flavors, and make notes for future batches so you can replicate your favorites.
What is the difference between fermented and vinegar-based pickles?
Fermented pickles rely on natural bacteria to produce lactic acid, which preserves the cucumbers and creates a tangy, complex flavor. This method takes 1–2 weeks and yields pickles rich in probiotics, ideal for gut health.
Vinegar-based pickles, or quick pickles, are made by immersing cucumbers in an acidic brine. They’re ready in just a few days and have a brighter, more straightforward tang. Both methods have their merits, depending on your taste and timeline.
Part 9: Conclusion
Recap of Key Points
Homemade kosher dill pickles are a delightful blend of tradition and flavor. By selecting fresh ingredients, mastering the brining process, and understanding the differences between fermentation and quick pickling, you can create crisp, tangy pickles tailored to your preferences. With minimal equipment and a bit of patience, this timeless recipe becomes accessible to all.
From sandwiches to charcuterie boards, kosher dill pickles are a versatile addition to countless dishes. Whether you prefer a traditional approach or modern twists, the possibilities are endless.
Encouragement to Try Homemade Pickling
Now that you’ve explored the secrets of making kosher dill pickles, it’s time to roll up your sleeves and dive in! The process is as rewarding as the results, allowing you to savor the fruits of your labor with every crunchy bite.
Homemade pickling isn’t just about preserving cucumbers; it’s about preserving tradition, creating memories, and crafting flavors uniquely your own. So why wait? Start your pickling journey today and enjoy the unparalleled taste of pickles made with care and love.
Print
Perfect Kosher Dill Pickle Recipe: A Step-by-Step Guide to Crunchy Homemade Pickles
- Total Time: 25 minutes
- Yield: Makes 2
- Diet: Vegan
Description
This authentic kosher dill pickle recipe creates crisp, tangy, and garlicky pickles that are perfect for sandwiches, burgers, or snacking. Using a simple brine of vinegar, salt, fresh dill, and garlic, this recipe delivers classic deli-style pickles in just a few days. Whether you’re a beginner or a seasoned pickler, this easy homemade recipe will help you achieve perfectly crunchy pickles every time!
Ingredients
For the Pickles:
- 2 lbs Kirby cucumbers (washed and trimmed)
- 6–8 sprigs fresh dill
- 4–6 garlic cloves (peeled and lightly crushed)
- 1 tsp black peppercorns
- 1 tsp mustard seeds
- 1 tsp coriander seeds (optional)
- 1/2 tsp red pepper flakes (optional, for heat)
For the Brine:
- 2 cups distilled white vinegar (or apple cider vinegar for a sweeter tang)
- 2 cups water
- 3 tbsp kosher salt
- 1 tbsp sugar (optional, for balance)
Instructions
- Prepare the Cucumbers: Wash cucumbers well, trim both ends, and slice into spears or leave them whole.
- Sterilize the Jars: Boil glass jars and lids for 10–15 minutes, then dry completely.
- Make the Brine: Heat water, vinegar, salt, and sugar (if using) until the salt dissolves. Let cool.
- Pack the Jars: Add dill, garlic, peppercorns, mustard seeds, and cucumbers to the jars.
- Pour the Brine: Fill jars with cooled brine, ensuring cucumbers are fully submerged.
- Seal and Store: For quick pickles, refrigerate for at least 24–48 hours. For fermented pickles, store at room temperature for 7–14 days, then refrigerate.
Notes
For extra crunch, add a grape leaf or a pinch of calcium chloride to the jar before sealing.
- Prep Time: 15 minutes
- Cook Time: 10 minutes
- Category: Condiments
- Method: Pickling
- Cuisine: Jewish
Nutrition
- Serving Size: Per Serving
- Calories: 11 kcalv
- Sugar: 1.1 g
- Sodium: 1200 mg
- Fat: 0.1 g
- Saturated Fat: 0g
- Unsaturated Fat: 0g
- Trans Fat: 0g
- Carbohydrates: 2.4 g
- Fiber: 1.2 g
- Protein: 0.5 g
- Cholesterol: 0 mg
Keywords: kosher dill pickles, homemade pickles, easy pickle recipe, crunchy pickles, fermented pickles, vinegar pickles, Jewish deli pickles, quick pickles, refrigerator pickles, classic dill pickles

