Introduction
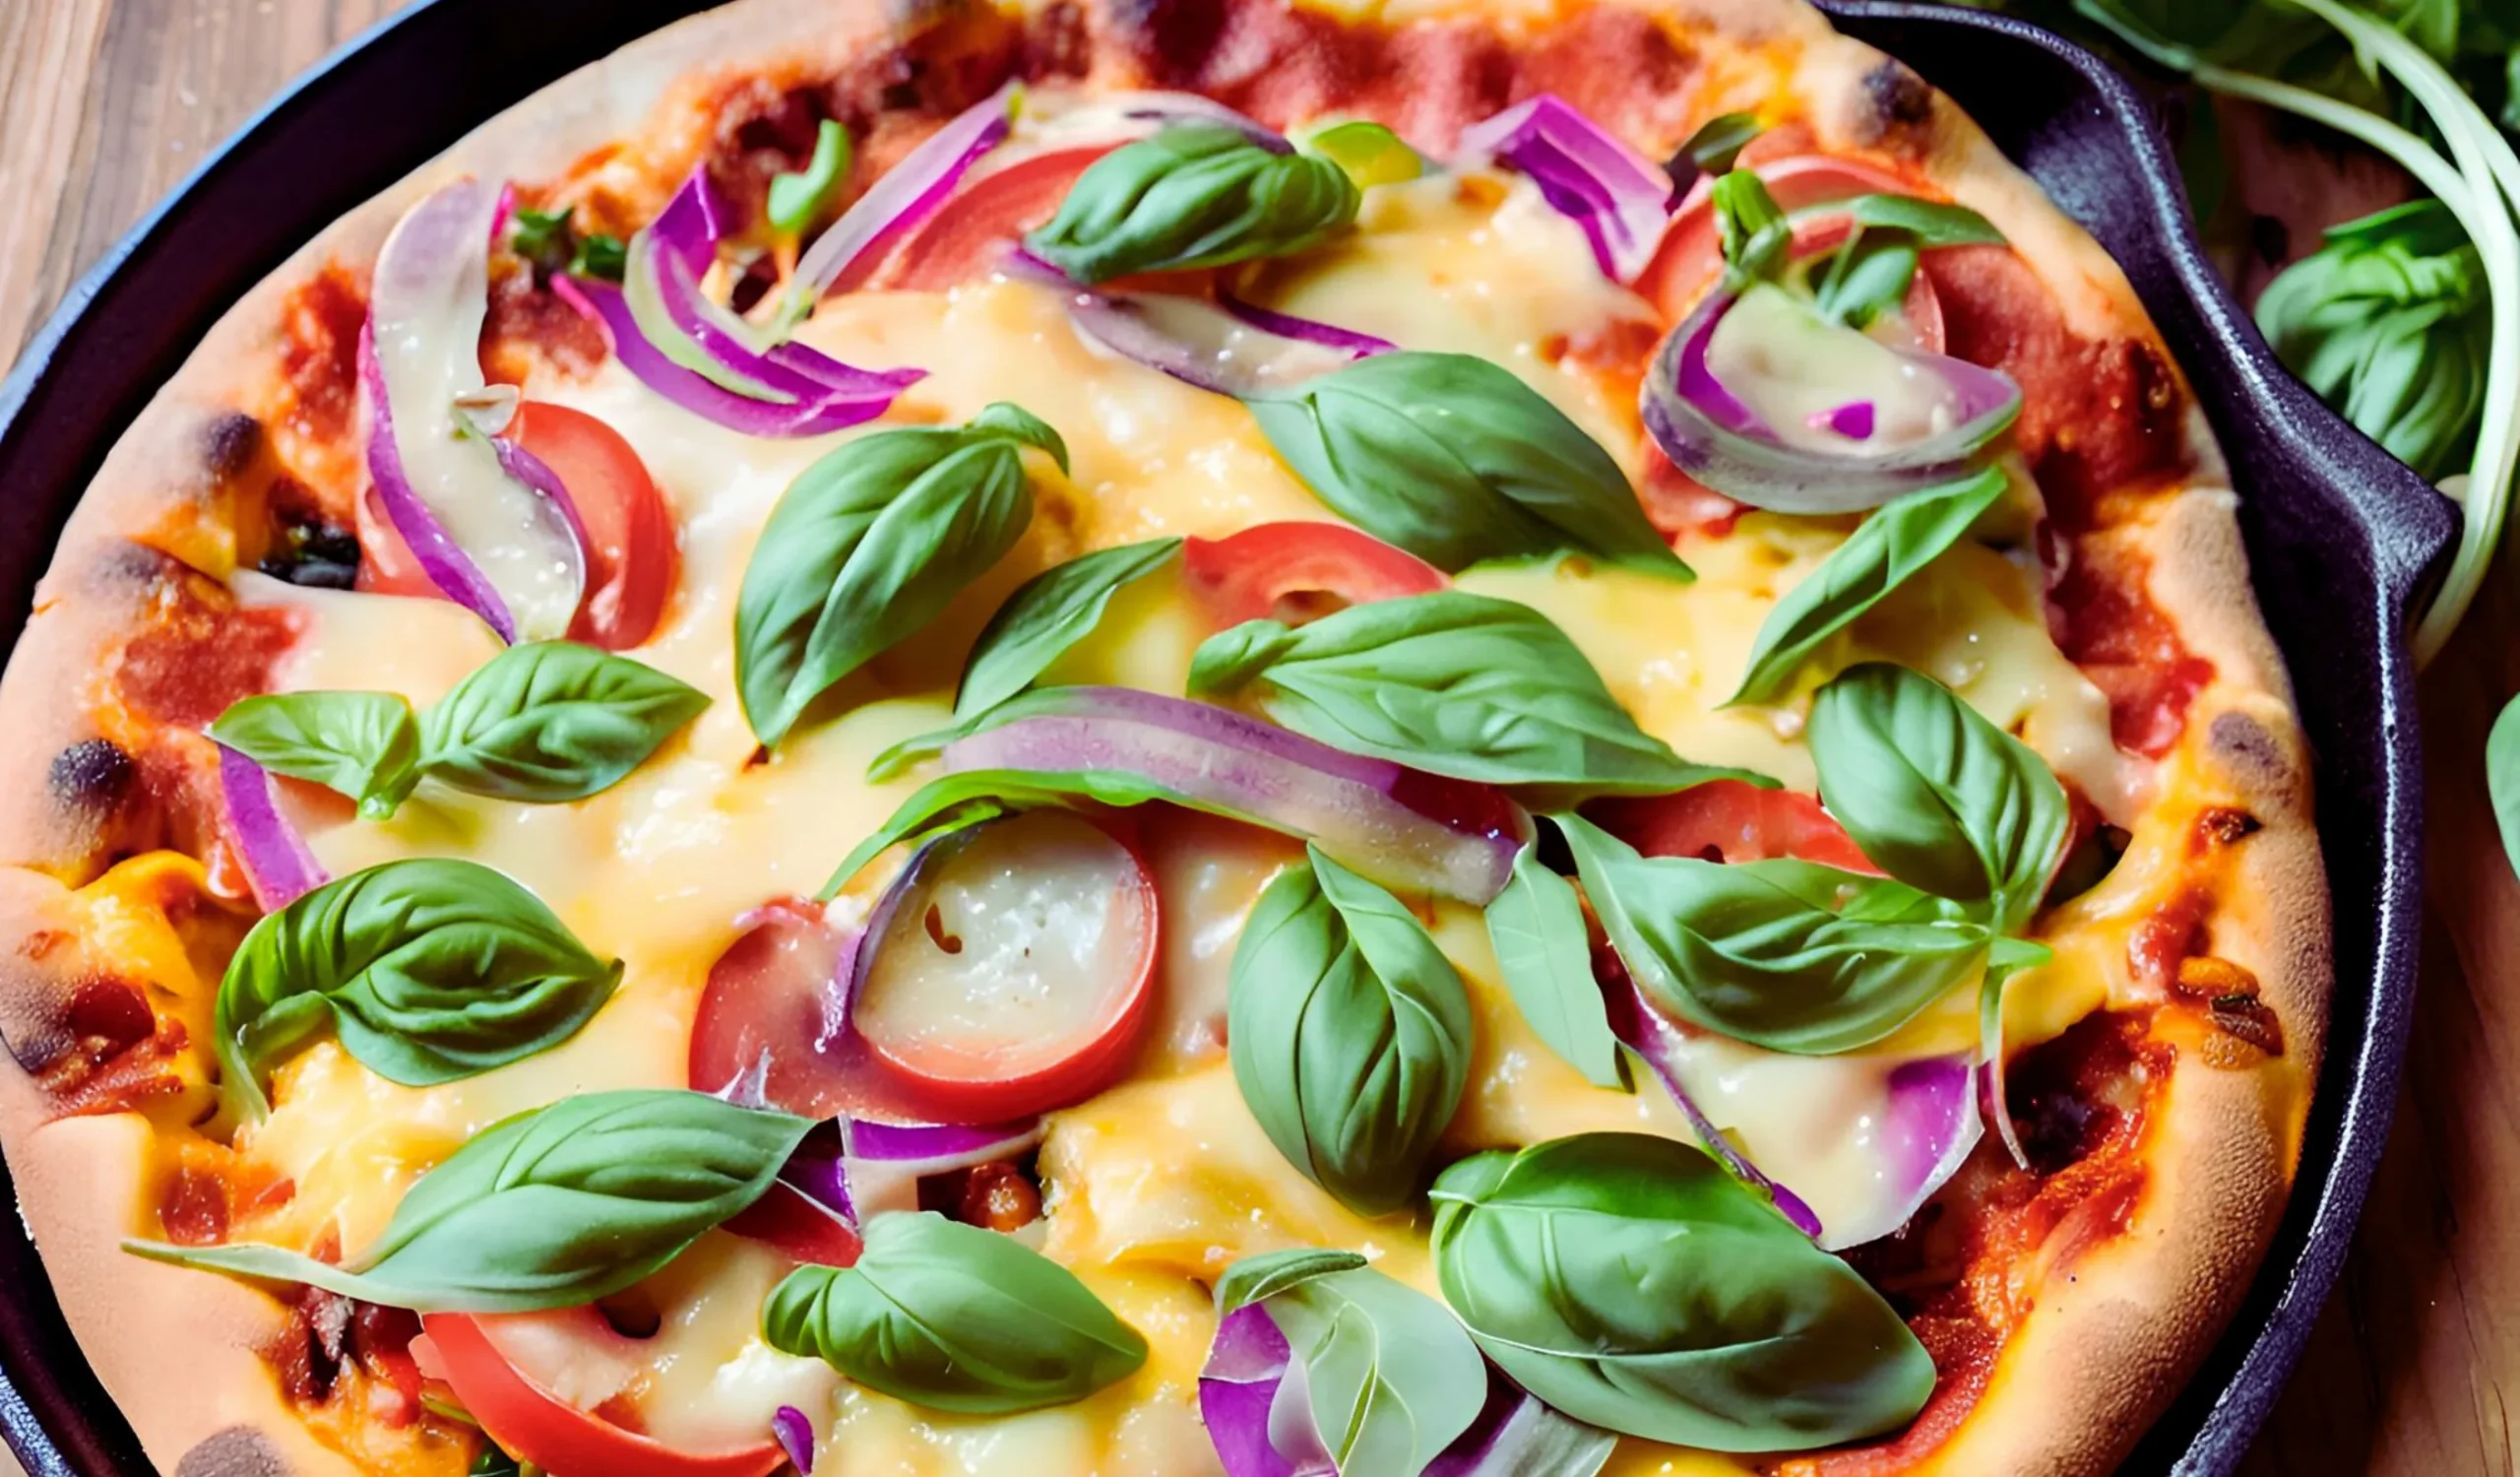
If you’ve ever dreamed of making a pizza with a crispy, golden crust and perfectly melted cheese right at home, a cast iron pizza recipe is the way to go! This method brings together the magic of a traditional pizzeria and the convenience of your kitchen. With its superior heat retention and versatility, a cast iron skillet is perfect for achieving a restaurant-quality pizza. In this guide, you’ll learn step-by-step how to craft a mouthwatering pizza that’s crispy on the outside, fluffy on the inside, and topped with your favorite ingredients.
Let’s dive into part one and explore what makes cast iron pizza so special!
Part 1: Introduction to Cast Iron Pizza
What Is Cast Iron Pizza?
A cast iron pizza recipe is a method of making pizza by cooking it in a cast iron skillet rather than on a traditional pizza stone or baking tray. The skillet’s heat-retaining properties ensure the pizza cooks evenly, delivering a crispy crust while keeping the toppings tender and flavorful.
Unlike other methods, a cast iron pizza recipe allows for unique techniques like stovetop-to-oven cooking, which maximizes the crust’s texture and gives you full control over the process. Plus, whether you’re making a deep-dish or thin-crust pizza, a cast iron skillet can do it all!
History and Popularity
Though pizza has its roots in Italy, the idea of cooking it using a cast iron pizza recipe is a more modern twist inspired by the love of thick, crispy pan pizzas. Popularized in home kitchens across the U.S., a cast iron pizza recipe became a go-to solution for those craving the taste of a wood-fired oven without investing in one. With the skillet’s versatility and the ease of cleanup, it’s no wonder this method has gained such a dedicated following!
Part 2: Benefits of Using a Cast Iron Skillet for Your Cast Iron Pizza Recipe
Superior Heat Retention
One of the standout advantages of using a cast iron skillet is its exceptional heat retention. Unlike aluminum or stainless steel pans, cast iron evenly distributes heat across the surface, ensuring every inch of your pizza crust is perfectly cooked. This means no more soggy centers or unevenly baked edges—just a crisp, golden crust from the first bite to the last. Moreover, cast iron holds heat longer, which is perfect for maintaining warmth if you’re serving multiple pizzas in a single session.
Achieving a Crispy Crust
When it comes to crafting a pizza with a mouthwatering, crispy crust, cast iron reigns supreme. The skillet’s ability to heat up to high temperatures allows the bottom of the dough to caramelize and form that irresistible crunch. And the magic doesn’t stop there—using a stovetop-to-oven cooking technique ensures the crust achieves a restaurant-style texture without needing a pizza oven. Whether you’re a fan of thin-crust pizzas or prefer a thicker, deep-dish style, cast iron delivers every time.
Versatility and Convenience
A cast iron skillet is a multitasking marvel. Not only can you use it to make pizza, but it’s also ideal for sautéing toppings, baking cookies, or even frying up a quick side dish while your pizza cools. Plus, it transitions seamlessly from stovetop to oven, simplifying your cooking process. Cleaning and storing a cast iron skillet is easy once you know the tricks, and it will last for decades if properly cared for. What’s more, you don’t need fancy equipment—just a reliable skillet and some creativity in the kitchen!
Part 3: Essential Equipment and Ingredients
Choosing the Right Cast Iron Skillet
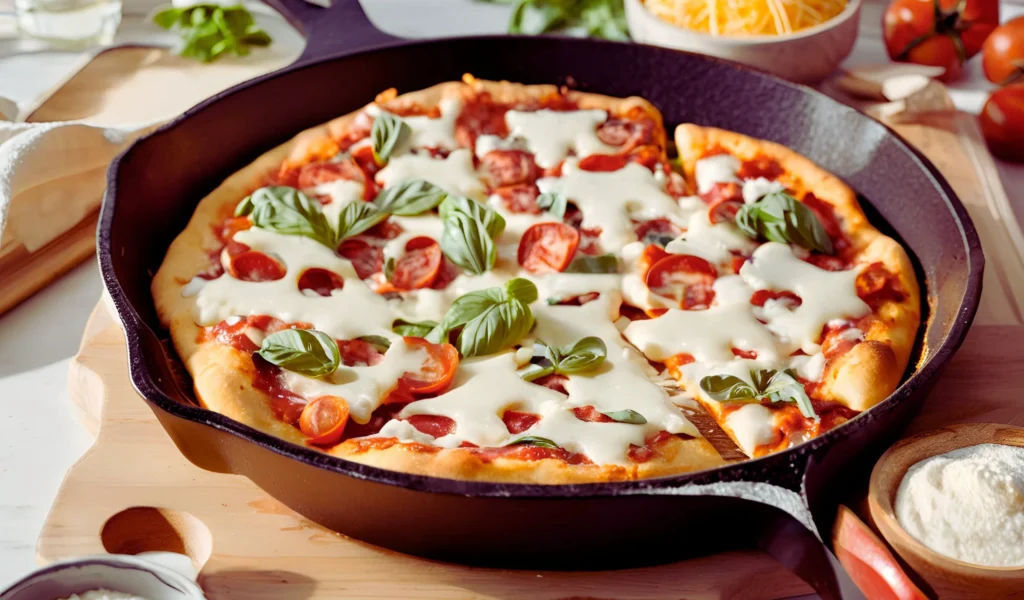
Picking the right cast iron skillet can make or break your pizza-making experience. For a standard-sized pizza, a 10-12 inch skillet works best, offering enough space for toppings without overwhelming the dough. If you prefer making personal-sized pizzas or deep-dish styles, smaller skillets are ideal. Make sure to choose a skillet with well-maintained seasoning, as this helps prevent sticking and ensures easier cleanup. Brands like Lodge or pre-seasoned skillets are great options for beginners.
For those investing in cast iron for the first time, opt for a model with slightly raised edges to prevent sauce or cheese from spilling over. A heavier skillet often indicates higher quality, providing even better heat retention.
Recommended Pizza Dough Options
The foundation of any good pizza is its dough, and your options are endless! Whether you prefer making homemade dough from scratch or using a store-bought version, both work well in a cast iron skillet. For a traditional crispy crust, go for high-protein bread flour or a pre-mixed pizza dough blend. If you’re pressed for time, refrigerated pizza dough from the store can be a lifesaver.
To take your pizza to the next level, try experimenting with different dough styles, such as whole wheat, sourdough, or even gluten-free options. Remember, the dough must be pliable but firm enough to hold its shape as it cooks in the skillet.
Selecting Quality Toppings and Cheese
The beauty of pizza is its customizability, but using high-quality ingredients can elevate the entire dish. Fresh tomato sauce, ripe vegetables, and premium cheeses like mozzarella or provolone are excellent starting points. For a vegetarian option, load up on mushrooms, spinach, and bell peppers. For meat lovers, options like cooked chicken or turkey sausage are flavorful yet healthy alternatives.
Don’t forget to include fresh herbs like basil or oregano to enhance flavor. And for the ultimate finish, a drizzle of olive oil or a sprinkle of parmesan cheese before serving adds that restaurant-worthy touch!
Part 4: Preparing the Cast Iron Skillet
Proper Cleaning Techniques
Before making your pizza, ensuring your skillet is clean is vital. Use warm water and a stiff brush or sponge to remove any residue. Avoid using soap, as it can strip the skillet’s seasoning. For stubborn spots, a mixture of coarse salt and water can act as a natural abrasive.
Once cleaned, dry your skillet thoroughly to prevent rust. If your skillet shows signs of rust, gently scrub it off with steel wool and re-season it. Proper cleaning not only extends the life of your skillet but also helps maintain the non-stick surface needed for perfect pizza-making.
Seasoning the Skillet for Non-Stick Cooking
Seasoning your cast iron skillet ensures that your pizza slides out easily without sticking to the pan. To season, coat the skillet with a thin layer of neutral oil (such as vegetable or canola) and heat it in the oven at 400°F for about an hour. This process creates a natural non-stick surface, which improves with each use.
Even if your skillet comes pre-seasoned, an extra layer of seasoning can reinforce its non-stick capabilities. Regular seasoning also enhances the skillet’s durability, keeping it in top condition for years of pizza-making adventures.
Preheating the Skillet for Optimal Results
Preheating your skillet is a game-changer for achieving a crispy crust. Place the skillet on medium heat for 3-5 minutes before adding the dough. This ensures the dough begins to cook immediately upon contact, creating a golden-brown base.
If you’re using the oven-baking method, preheat the skillet alongside the oven to the desired temperature (usually 450°F). This step eliminates cold spots and guarantees even cooking. Just remember to handle the hot skillet carefully—always use heat-resistant gloves or a thick towel.
Part 5: Crafting the Perfect Pizza Dough for Your Cast Iron Pizza Recipe
Ingredients Needed
To make the ideal pizza dough, you’ll need a handful of simple ingredients, many of which are pantry staples:
- 3 cups of bread flour (or all-purpose flour)
- 1 packet of active dry yeast (2 ¼ teaspoons)
- 1 teaspoon of sugar
- 1 teaspoon of salt
- 1 cup of warm water (around 110°F)
- 2 tablespoons of olive oil
Using bread flour yields a crispier crust, while all-purpose flour creates a softer texture. For a gluten-free option, substitute with a gluten-free flour blend.
Step-by-Step Dough Preparation
- Activate the Yeast: In a small bowl, combine the warm water, sugar, and yeast. Stir gently and let it sit for 5-10 minutes until it becomes frothy. This step ensures your yeast is alive and ready to leaven the dough.
- Mix the Dry Ingredients: In a large mixing bowl, combine the flour and salt. Stir them together to distribute evenly.
- Combine Wet and Dry Ingredients: Slowly pour the yeast mixture and olive oil into the flour mixture. Stir with a wooden spoon or your hands until the dough comes together.
- Knead the Dough: Transfer the dough to a floured surface and knead for about 8-10 minutes until it’s smooth and elastic. Add a bit more flour if the dough is too sticky.
- Let It Rise: Place the dough in a lightly oiled bowl, cover it with a clean kitchen towel or plastic wrap, and let it rise in a warm place for 1-2 hours or until it doubles in size.
Tips for Achieving the Ideal Dough Consistency
- Avoid Over-Kneading: While kneading is crucial, overworking the dough can make it tough and difficult to roll out. Stop once the dough feels elastic and smooth.
- Adjust Flour Gradually: If the dough feels too wet or sticky, add flour one tablespoon at a time to avoid drying it out.
- Room Temperature Resting: After the first rise, let the dough rest at room temperature for 10 minutes before rolling. This makes it easier to shape without tearing.
Part 6: Assembling the Pizza for Your Cast Iron Pizza Recipe
Rolling and Shaping the Dough
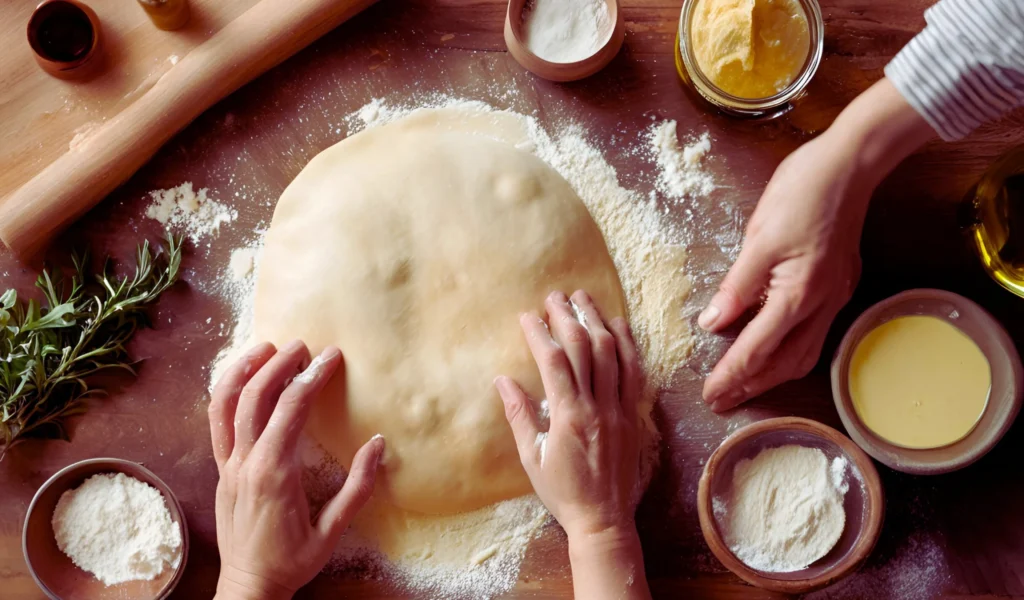
Start by lightly flouring your work surface and rolling pin. Place the risen dough on the surface, gently pressing it down to release any air bubbles. Roll it out evenly to match the size of your cast iron skillet (10-12 inches is standard). If you prefer a thicker crust, allow the dough to remain slightly smaller than the skillet.
For an authentic touch, use your hands to stretch the dough. Drape it over your knuckles and gently pull outward, rotating the dough as you go. This method prevents over-compression and helps maintain an airy texture.
Adding Sauce and Toppings Evenly
Spread a thin, even layer of tomato sauce over the rolled dough, leaving about an inch of space around the edges for the crust. A ladle or spoon works well for this step. Avoid overloading with sauce to prevent a soggy base.
Next, sprinkle your toppings—vegetables, meats, or herbs—strategically. Layer lighter toppings, like spinach or onions, first, followed by heartier ingredients like cooked chicken or sausage. This ensures even cooking and prevents the crust from becoming weighed down.
Ensuring Proper Cheese Distribution
Cheese is arguably the highlight of any pizza, and distributing it evenly ensures every bite is a delight. Opt for shredded mozzarella as a base, spreading it in a single layer over the sauce and toppings. For a gourmet flair, consider adding small dollops of ricotta, crumbled feta, or shredded parmesan.
To avoid burning, make sure no cheese touches the edges of the skillet. This prevents the crust from sticking and creates a neat, professional appearance.

Part 7: Cooking Techniques for Your Cast Iron Pizza Recipe
Stovetop Cooking Method
Place your prepared skillet on the stovetop over medium heat. Cook the pizza dough for 2-4 minutes, allowing the bottom to crisp up before adding the toppings. You’ll know it’s ready when the edges puff slightly and the base develops a golden-brown hue.
Add your toppings quickly while the dough is still on the heat. Once the cheese starts to melt, transfer the skillet to the oven for final cooking (see below). This hybrid method gives you a perfect balance of crispiness and softness.
Oven-Baking Method
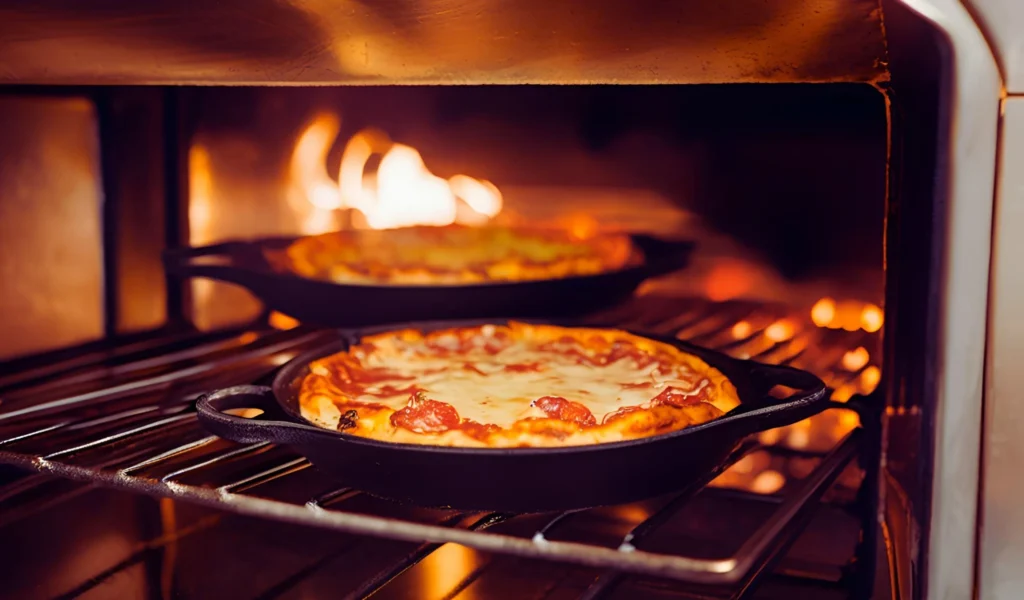
Preheat your oven to 450°F and place the skillet inside for 5-10 minutes to heat up. Carefully remove the hot skillet, place the rolled dough inside, and quickly add your sauce and toppings. Bake the pizza for 12-15 minutes or until the crust is golden and the cheese is bubbly.
For an extra crispy crust, switch the oven to broil for the last 1-2 minutes. Just be sure to watch closely to prevent burning.
Combining Stovetop and Oven Methods for Best Results
The stovetop-to-oven method is the gold standard for cast iron pizza. Start by crisping the dough on the stovetop to ensure a sturdy base, then finish in the oven to cook the toppings and melt the cheese.
This approach combines the benefits of both cooking techniques, delivering a pizza with a perfectly crisp crust and evenly cooked toppings. It’s also faster than relying solely on the oven! Always remember to handle the skillet with care—it’ll be extremely hot when transferring.
Part 8: Detailed Recipe with Step-by-Step Instructions
Ingredients List for Your Cast Iron Pizza Recipe
To create the perfect cast iron pizza, gather the following ingredients:
- For the Dough:
- 3 cups bread flour or all-purpose flour
- 1 packet active dry yeast (2 ¼ tsp)
- 1 tsp sugar
- 1 tsp salt
- 1 cup warm water (110°F)
- 2 tbsp olive oil
- For the Pizza:
- ½ cup tomato or marinara sauce
- 2 cups shredded mozzarella cheese
- Desired toppings (e.g., bell peppers, mushrooms, cooked chicken, onions, olives)
- Fresh herbs (basil or oregano)
Step-by-Step Cooking Instructions
- Prepare the Dough:
Activate the yeast by combining warm water, sugar, and yeast in a bowl. Let it sit until frothy (about 5 minutes). Mix with flour, salt, and olive oil to form a dough. Knead for 8-10 minutes, let it rise for 1-2 hours, then rest for 10 minutes before rolling. - Preheat the Skillet:
Place your cast iron skillet on medium heat for 3-5 minutes. This step ensures the dough crisps up immediately upon contact. If using the oven, preheat the skillet at 450°F for 5 minutes. - Roll and Shape the Dough:
Roll the dough into a round shape matching the skillet size (about 10-12 inches). Transfer the dough to the preheated skillet. - Cook the Base on the Stovetop:
Heat the dough on the stovetop for 2-4 minutes until the bottom turns golden brown. - Add Sauce and Toppings:
Spread a thin layer of sauce evenly over the dough. Add your desired toppings and sprinkle the shredded mozzarella on top. - Finish in the Oven:
Transfer the skillet to the oven and bake at 450°F for 12-15 minutes. For an extra crispy crust, broil for the final 1-2 minutes. - Serve and Enjoy:
Carefully remove the skillet from the oven (it’ll be hot!). Let the pizza cool slightly before slicing and serving. Garnish with fresh herbs for a finishing touch.
Part 9: Nutritional Information
Nutritional Content (per 100g)
Here’s the approximate nutritional breakdown of a cast iron pizza based on standard ingredients:
| Nutrient | Amount (per 100g) |
|---|---|
| Calories | 250 kcal |
| Protein | 9 g |
| Carbohydrates | 32 g |
| Fat | 8 g |
| Saturated Fat | 3 g |
| Fiber | 2 g |
| Sodium | 400 mg |
Values may vary depending on toppings and dough types.
Health Considerations and Modifications
- For a lighter option, use whole wheat or gluten-free dough.
- Reduce sodium by making sauce from scratch with fresh tomatoes.
- Swap mozzarella for low-fat cheese or vegan alternatives.
- Add nutrient-dense toppings like spinach, artichokes, or grilled zucchini.
Part 10: Tips and Tricks for Perfect Cast Iron Pizza
Preventing Dough from Sticking
To keep your pizza from sticking, ensure the skillet is well-seasoned and preheated. Lightly oil the skillet before placing the dough. Avoid adding too much sauce, as it can seep through and cause sticking.
Achieving the Desired Crust Thickness
For a thinner crust, stretch the dough more before placing it in the skillet. If you prefer a thicker, chewy crust, use slightly more dough and press it less. Letting the dough rise for a few extra minutes in the skillet before cooking can also create a fluffier base.
Experimenting with Different Toppings
Don’t be afraid to get creative! Try combinations like roasted garlic, goat cheese, and arugula for a gourmet touch. Experiment with seasonal ingredients such as squash or fresh herbs to keep your pizzas exciting. Remember, balance is key—too many toppings can overpower the crust and cause uneven cooking.
Part 11: Common Mistakes to Avoid
Overloading with Toppings
While tempting, piling on toppings can lead to soggy pizza. Overloaded toppings create excess moisture, making it harder for the crust to cook through. Stick to a handful of well-chosen ingredients for the best results.
Incorrect Temperature Settings
Cooking at too low a temperature won’t crisp the crust properly, while temperatures that are too high can burn the edges before the toppings are cooked. Always aim for 450°F and monitor the pizza closely during broiling.
Neglecting Skillet Maintenance
A poorly maintained skillet can ruin your pizza-making experience. Rusty or improperly seasoned skillets cause sticking and uneven cooking. Regularly clean and season your skillet to ensure longevity and optimal results.
Part 12: Frequently Asked Questions (FAQs)
Can I use store-bought dough for cast iron pizza?
Absolutely! Using store-bought dough is a convenient option for making cast iron pizza. Most grocery stores offer pre-made dough in the refrigerated section, and it works well for this method. Allow the dough to sit at room temperature for about 30 minutes before rolling it out. This step makes it easier to stretch and ensures even cooking. While homemade dough offers more customization, store-bought dough is a quick and reliable alternative when time is tight.
How do I clean my cast iron skillet after making pizza?
Cleaning your cast iron skillet properly is essential for maintaining its longevity and seasoning. After the skillet has cooled slightly, use a spatula or brush to scrape off any leftover bits of pizza. Wash the skillet with warm water and a soft sponge—avoid using soap, as it can strip the seasoning. For tough spots, use a mixture of coarse salt and water to scrub gently. Once clean, dry the skillet thoroughly and rub it with a thin layer of oil to prevent rust.
What are some vegetarian topping ideas?
Vegetarian toppings are versatile and delicious on cast iron pizza! Consider combinations like spinach, mushrooms, and feta for a Mediterranean flair. Bell peppers, onions, and black olives add a classic touch, while roasted butternut squash and caramelized onions create a sweet and savory option. Fresh herbs like basil or arugula are great finishing touches. To boost protein, add chickpeas or crumbled tofu. The possibilities are endless—experiment to find your favorite combinations!
How can I make a gluten-free cast iron pizza?
Making a gluten-free cast iron pizza is straightforward with the right ingredients. Use a gluten-free flour blend to make homemade dough or purchase pre-made gluten-free pizza dough. Follow the same cooking steps as regular dough but handle it gently—it tends to be less elastic. Ensure all your toppings, including sauce and cheese, are certified gluten-free. With a little care, you can enjoy a crispy, delicious gluten-free pizza that’s perfect for everyone.
Part 13: Conclusion
Recap of Key Points
A cast iron pizza recipe is a game-changer for home cooks. From the skillet’s superior heat retention to its ability to create a perfectly crispy crust, the method combines simplicity and flavor. With the right equipment, ingredients, and step-by-step instructions, you can recreate the magic of a pizzeria in your kitchen. Whether you prefer homemade dough or store-bought, the results will leave everyone at the table impressed.
Encouragement to Try Making Cast Iron Pizza at Home
Now that you’ve mastered the art of making pizza in a cast iron skillet, it’s time to roll up your sleeves and get cooking! Experiment with toppings, customize your crust, and embrace the joy of creating a restaurant-quality meal at home. Not only is this method simple and fun, but it also delivers unbeatable flavor. So, grab your skillet, preheat that oven, and enjoy a slice (or two) of homemade perfection.
Print
How to Make the Best Cast Iron Pizza Recipe: Step-by-Step Guide
- Total Time: 25 minutes
- Yield: 4 people 1x
- Diet: Vegetarian
Description
This Cast Iron Pizza Recipe delivers a crispy, golden crust with perfectly melted cheese using a cast iron skillet. This method mimics a restaurant-style pizza, offering the perfect balance of crunch and chew. Whether you’re using store-bought or homemade dough, this foolproof technique ensures pizzeria-quality results at home.
Ingredients
For the Dough (if making from scratch)
- 3 cups bread flour (or all-purpose flour)
- 1 packet (2 ¼ tsp) active dry yeast
- 1 tsp sugar
- 1 tsp salt
- 1 cup warm water (110°F)
- 2 tbsp olive oil
For the Pizza
- ½ cup tomato sauce (or marinara sauce)
- 2 cups shredded mozzarella cheese
- 1 tbsp olive oil (for greasing the skillet)
- Desired toppings (pepperoni, mushrooms, bell peppers, onions, olives, cooked chicken, etc.)
- Fresh basil or oregano (for garnish)
Instructions
-
Prepare the Dough (Skip if using store-bought dough)
- Activate yeast in warm water with sugar.
- Mix with flour, salt, and olive oil to form a dough.
- Knead for 8-10 minutes until smooth and let it rise for 1-2 hours.
-
Preheat the Cast Iron Skillet
- Place the skillet on medium heat for 3-5 minutes. (If using the oven, preheat at 450°F with the skillet inside.)
-
Roll & Shape the Dough
- Stretch the dough into a 10-12 inch round to fit the skillet.
-
Cook the Base on Stovetop (Optional but recommended for extra crispiness)
- Add the dough to the hot skillet and cook for 2-4 minutes until the bottom is golden brown.
-
Add Toppings
- Spread tomato sauce evenly over the dough.
- Add cheese and your favorite toppings.
-
Bake in the Oven
- Transfer the skillet to the oven and bake at 450°F for 12-15 minutes until the cheese is melted and bubbly.
- (Optional) Broil for 1-2 minutes for an extra crispy top.
-
Serve & Enjoy
- Remove from the oven carefully.
- Let it cool for a few minutes, garnish with fresh basil, and serve!
Notes
- For a thinner crust: Roll the dough thinner and reduce the baking time slightly.
- For extra crispy crust: Preheat the skillet in the oven before adding the dough.
- Prep Time: 10 minutes
- Cook Time: 15 minutes
- Category: Main Dish
- Method: Stovetop
- Cuisine: Italian
Nutrition
- Serving Size: 1 slice
- Calories: 380 kcal
- Sugar: 4g
- Sodium: 580mg
- Fat: 16g
- Saturated Fat: 6g
- Unsaturated Fat: 8g
- Trans Fat: 0g
- Carbohydrates: 45g
- Fiber: 3g
- Protein: 14g
- Cholesterol: 25mg
Keywords: Cast Iron Pizza, Skillet Pizza, Homemade Pizza, Crispy Pizza, Easy Pizza Recipe, Deep Dish Pizza

